Custom Horse/Barn Bedroom
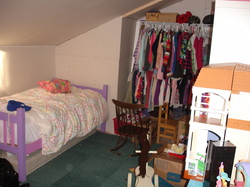
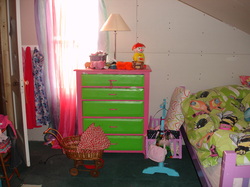
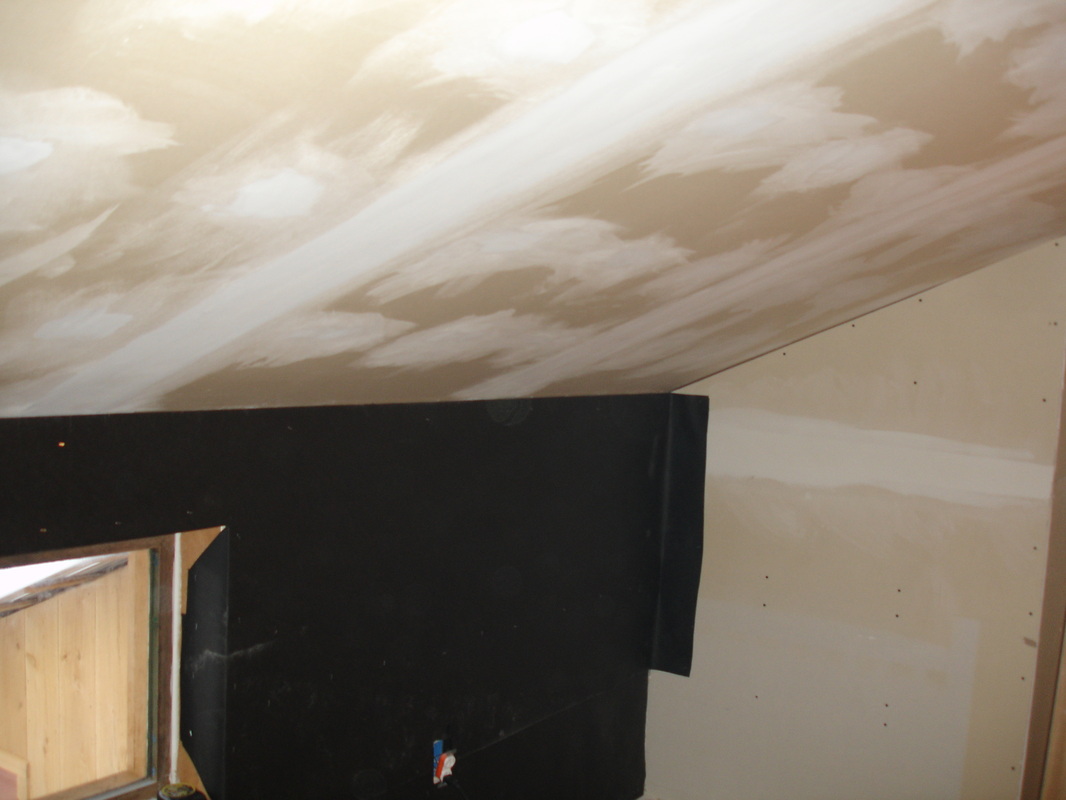
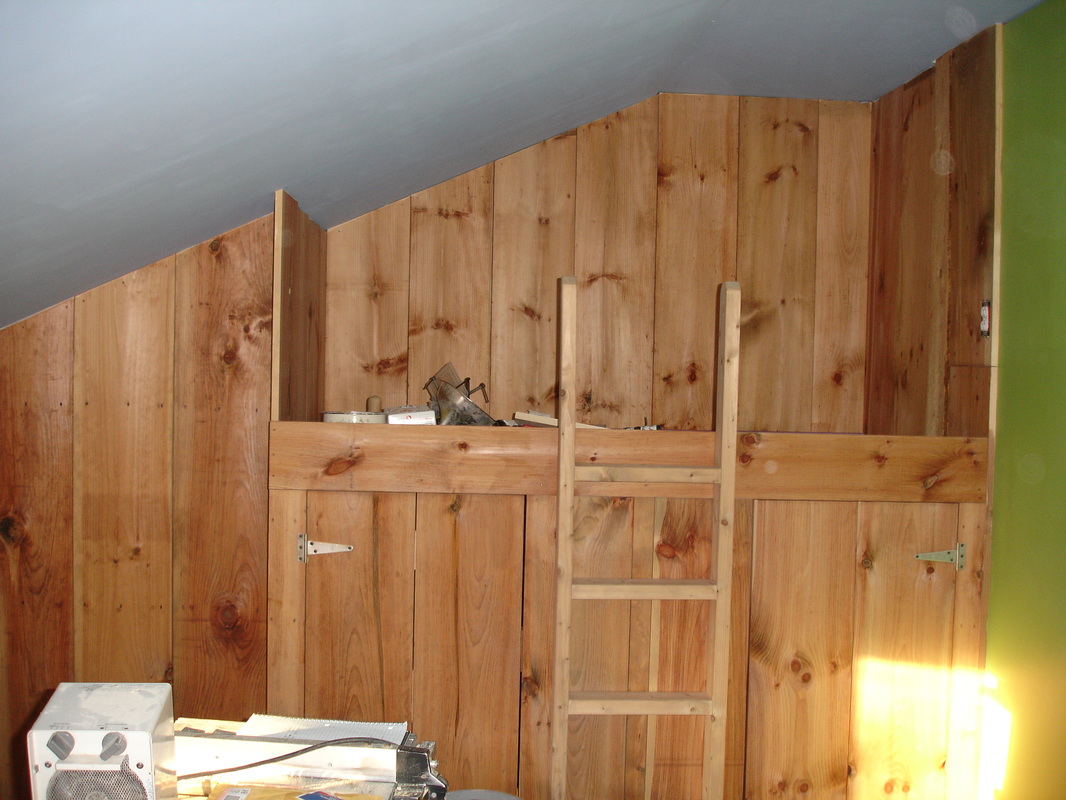
Before picture of the bedroom
We decided it was time to finally finish off the inside of the house. We gave our house 2 years to settle so that any sheetrock work we do from here on out should have limited shifting and cracking (or that is the theory we are sticking with anyways). So this year we told the girls that for Christmas we would give them their own rooms and they could decide what they choose for a theme.
Before the build...
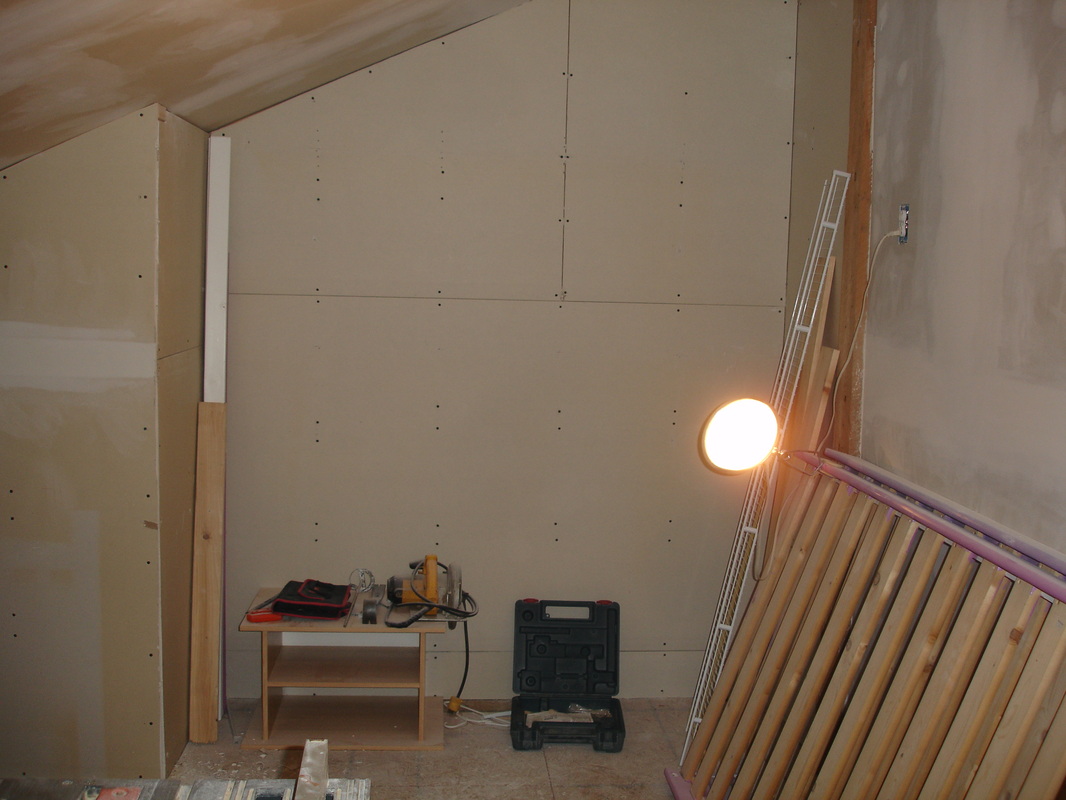
Before picture showing drywall
Ariana our youngest didn't even hesitate. She said she wanted a horse barn theme with horses, stalls, a barn door and wood on all the sides. Well go figure how an 8 year old would know all that but she did and we said, "Absolutely a barn it will be!" These first two pictures are what the bedroom has looked like for the past two years. The girls have shared their room with sheetrock walls and an unfinished closet area.
Starting to compound the screw holes and joints in the walls and ceiling
Let the building Commence!
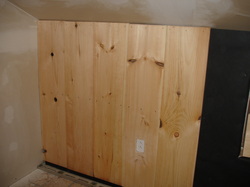
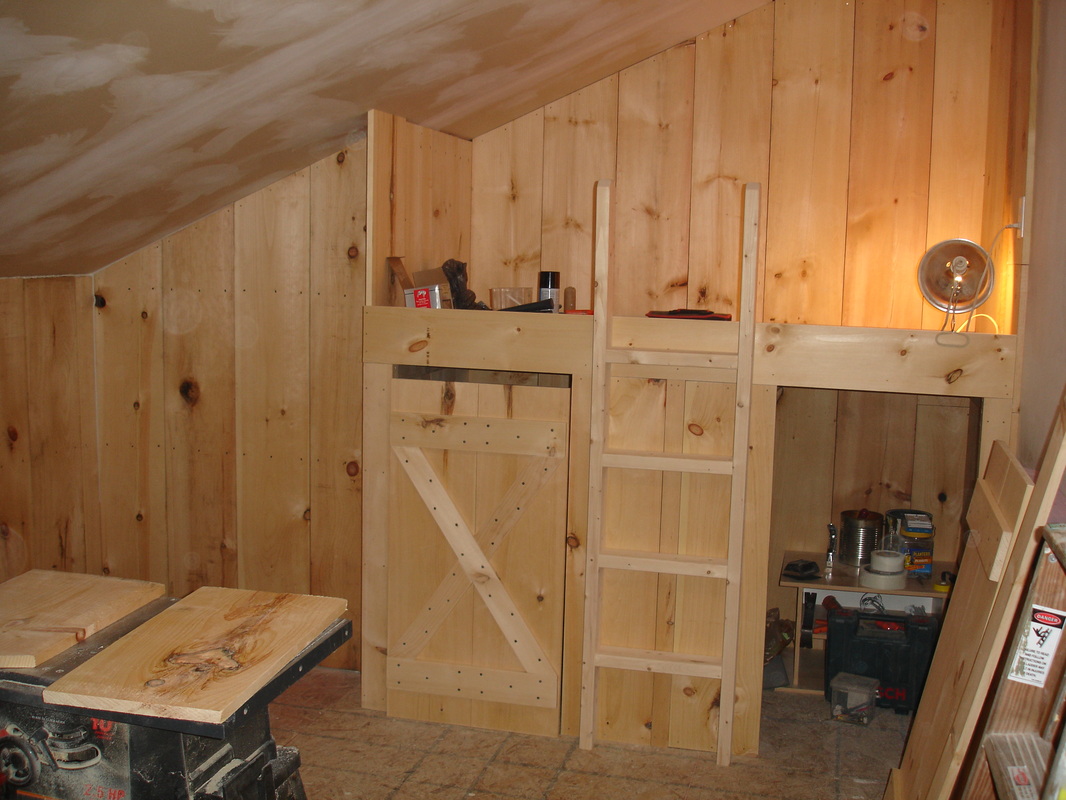
Putting up the barn board
So we decided after many hours of researching that in order to give Ariana her stall like barn, we would utilize the closet area as a built in bed area. We would loft the bed creating a cupboard/closet area underneath which can be utilized as a closet/storage area or in this case a toy/play area. Now I should mention that before we started any of the actual building of the room, we first had to joint compound all the joints and screw holes on all the walls and ceiling. This was of course a very messy and tedious job that lasted days as you have to apply thin coats of compound allowing it to dry and sanding it a bit between layers. Once we were happy with the way the seams came out it was time to build!
Jonathan was able to find some #4 pine from a local lumber company which we decided to use for the walls, bed area and to make the door. Before nailing up the boards, we first used black felt paper underneath the boards so that if there was any shrinkage in the wood you would see the black felt paper instead of any white wall underneath. And as an after comment it is a good thing we did as already some of the boards have shrunk allowing the black of the felt paper to show underneath. So this was a good move on our part!
Jonathan was able to find some #4 pine from a local lumber company which we decided to use for the walls, bed area and to make the door. Before nailing up the boards, we first used black felt paper underneath the boards so that if there was any shrinkage in the wood you would see the black felt paper instead of any white wall underneath. And as an after comment it is a good thing we did as already some of the boards have shrunk allowing the black of the felt paper to show underneath. So this was a good move on our part!
View of compound on ceiling as well as felt paper for under the wood
Building the loft bed with closet area
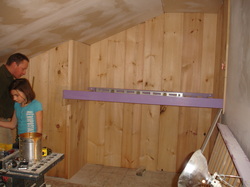
Building the loft bed
We love to recycle! The girls have twin bunk beds which are pretty sturdy. So instead of storing the bed we decided to use the base of one of them as the top of the bed for the loft area. Hence the purple color LOL! Jonathan used support rails along the base of the frame all the way around to make sure the bed would be secure. He then proceeded to construct the cupboard area with doors and a ladder. This was using all of the #4 pine boards as well as 2x4 wood.
Constructing the bed and cupboard
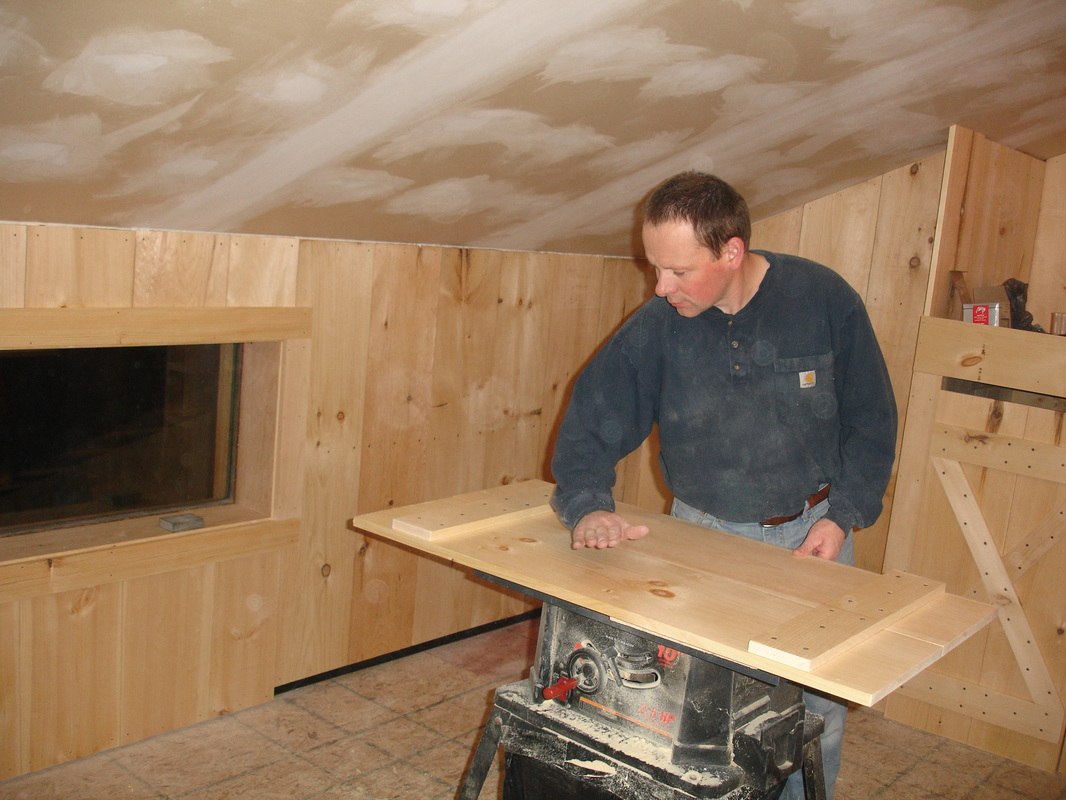
Jonathan working on one of the doors to cupboard
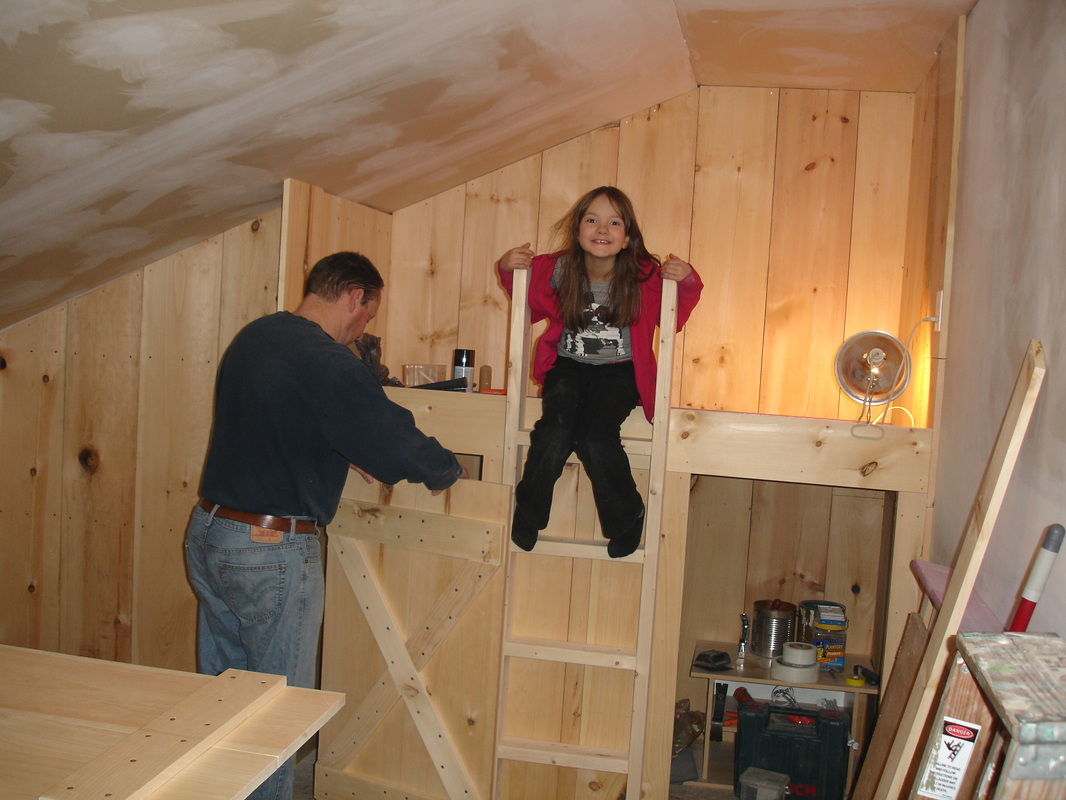
Ariana checking out her new loft bed!
Time to paint... grass and blue sky it is!
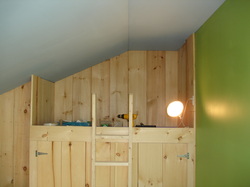
Painting the walls and ceiling
Yes we let Ariana chose her own paint. Well within reason. She wanted a blue ceiling and green for the walls so it looks like grass. So off to our favorite DIY store we went and came home with the paint needed to transform this room. The green is very similar to the green on this boarder of this page believe it or not. And the blue reminds me of a washed out pair of blue jeans. Nothing to dramatic and best of all she loves them!
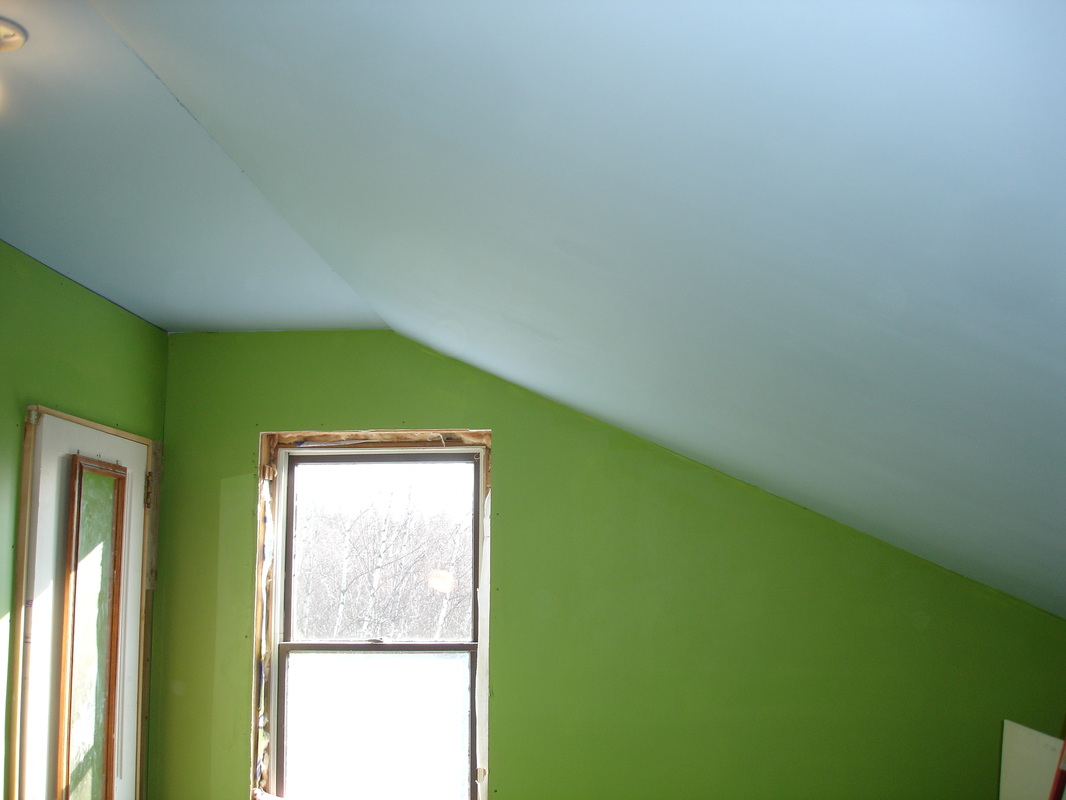
Nice blue ceiling warms the room and the green makes it feel alive!
To stain or not to stain, that is the question?
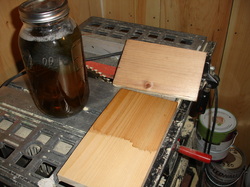
Making Homemade Stain
Some of you who have been following along with us as we built this room will know we had a big decision to make when we decided to stain the wood. What color? How do we make it look old like barn wood? Well we found the answer while watching a This New House episode where they were building a new house to look old. They used a homemade stain made from none other than vinegar with a steel wool pad in it! To find out more about how to make the stain please follow this link which will tell you all about it: Homemade Stain for Aging Wood
The loft area with drying stain - it is even a bit darker then this now
A special surprise arrives in the mail....
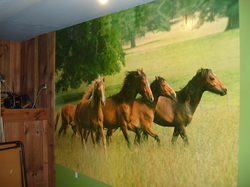
Horse Mural for Ariana
We thought it would be awesome to find a wall mural to put on the wall with horses on it. But holy cow they are expensive! So I searched, and searched, and searched. Then one night when I finally gave up hope of finding one we could afford, I found one for like $35! BARGAIN!!!! So we bought it and waited for it to come. Now I have wallpapered for years now from bathrooms, kitchens, bedrooms, hallways even a ceiling, but I have never put a mural up before. Hah how hard can it be right? WRONG! It was the hardest thing to put up!
My first mistake was using the paste that came with the mural. It was made in Taiwan so the quality right there will tell you.. duh Heidi what is wrong with you? But I wanted to get it up so threw caution to the wind. When I first mixed the paste everything was fine.. look like it should except it seemed to have floaty chunks of some sort that looked and felt like the consistency of a wet marshmallow. Huh well they will probably dry up to nothing. WRONG AGAIN! UGH.. so without going into much further detail Ben and I put up the mural which came in four sections. I worked out the lumps and creases as best I could without damaging the print which was very hard to do. I figured some of the lumps that remained would eventually shrink as they dried up. Well they didn't and created some nice bumps in the print. Now I know I am just being fussy as it is only for an 8 year old's wall, but seriously who puts marshmallows in wallpaper paste? Oh and I also figured out why the mural was so cheap too! The print is a second with some of the coloring from one square to the other not matching up. Again I know I am being fussy but when you want to do something right you want it done right! UGH! But guess what? She loves it so that is all that counts... all my fussiness aside!
My first mistake was using the paste that came with the mural. It was made in Taiwan so the quality right there will tell you.. duh Heidi what is wrong with you? But I wanted to get it up so threw caution to the wind. When I first mixed the paste everything was fine.. look like it should except it seemed to have floaty chunks of some sort that looked and felt like the consistency of a wet marshmallow. Huh well they will probably dry up to nothing. WRONG AGAIN! UGH.. so without going into much further detail Ben and I put up the mural which came in four sections. I worked out the lumps and creases as best I could without damaging the print which was very hard to do. I figured some of the lumps that remained would eventually shrink as they dried up. Well they didn't and created some nice bumps in the print. Now I know I am just being fussy as it is only for an 8 year old's wall, but seriously who puts marshmallows in wallpaper paste? Oh and I also figured out why the mural was so cheap too! The print is a second with some of the coloring from one square to the other not matching up. Again I know I am being fussy but when you want to do something right you want it done right! UGH! But guess what? She loves it so that is all that counts... all my fussiness aside!
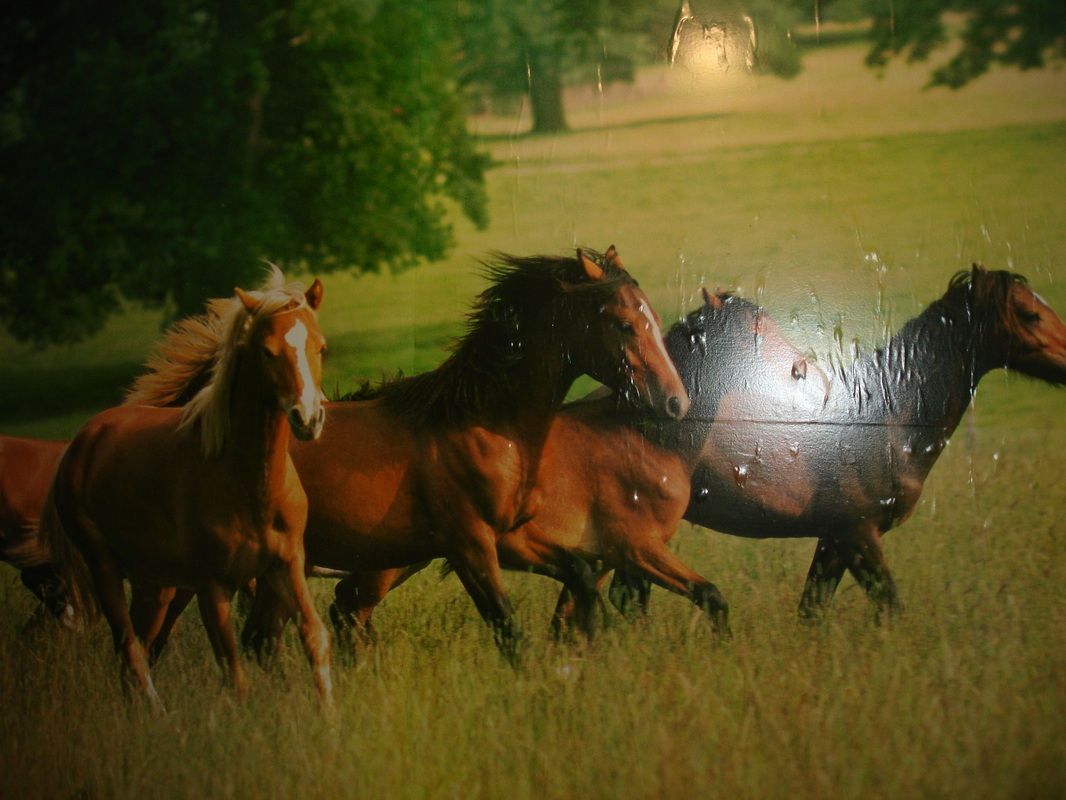
This picture shows some of the lumps. I did work some of these out as this was taken while still wet... but you can see them :(
Finishing up with carpeting, trim board and decorating
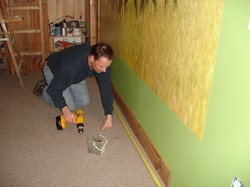
Jonathan putting in the baseboard trim
Now all that is left is installing the carpet, putting up the trim boards, trimming out the windows and making a barn door. Yes Ariana will have an old fashioned barn door that opens on the top and bottom! She of course wanted to paint this red and white. LOL yeah it was the only time we put the brakes on and explained that it would be the same color as the rest of the wood for now.
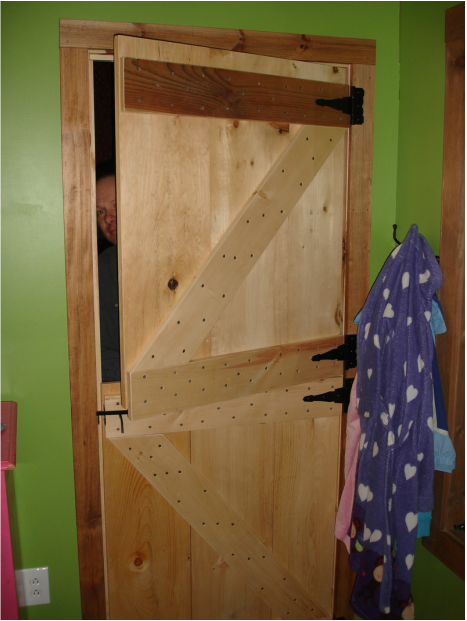
Custom Barn door which will be stained soon. Here it shows how top can be opened on its own.
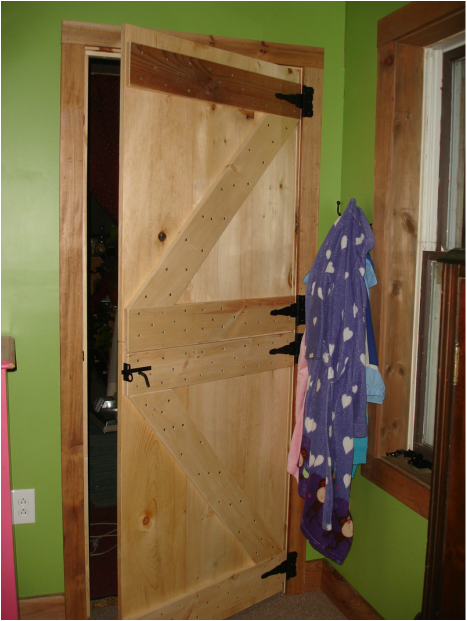
Custom barn door as one door
The Big Reveal!
We still have a few more things to finish off but for the most part Ariana's room has now been transformed into a Horse/Barn themed room! We still are on the look out for some old tack, some horseshoes, and maybe even some western style lamps to help finish off the decorating part but we can add these things anytime.
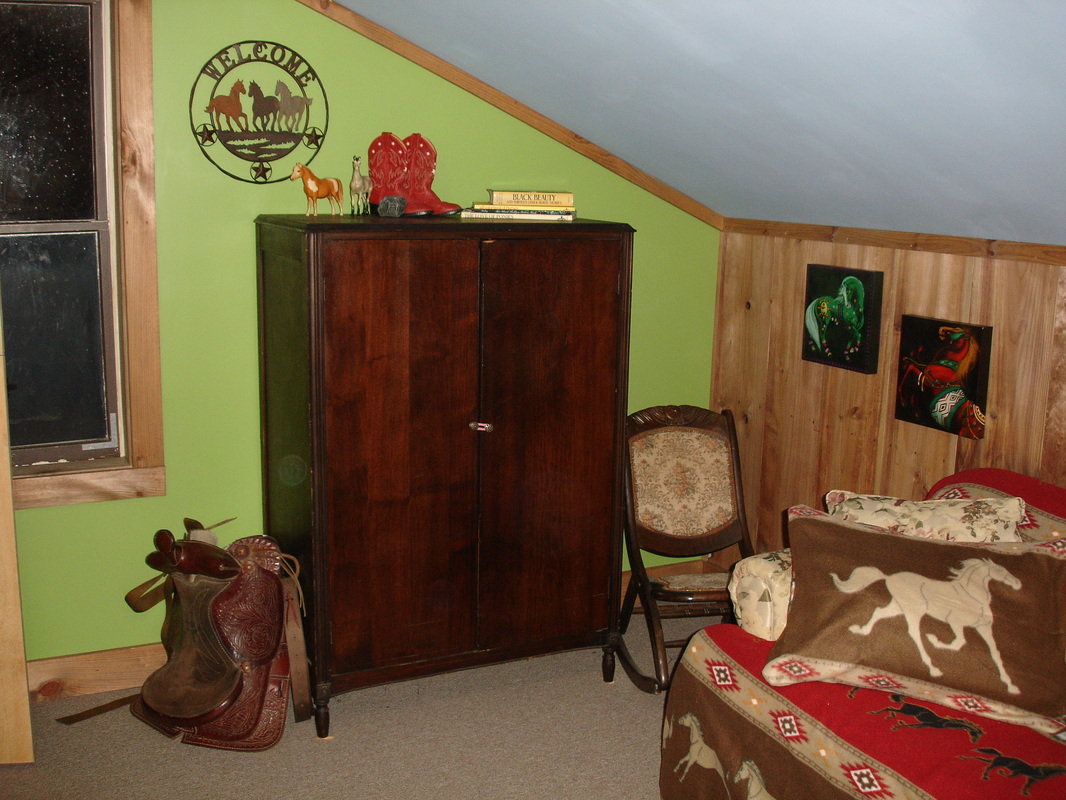
I loved that we had most of the decorations already including some horse statues from when I was younger, some of my old horse books, cowboy boots the girls had from when Grammy went to Texas and of course an old saddle that Grandpa Bob gave to Ariana for Christmas!
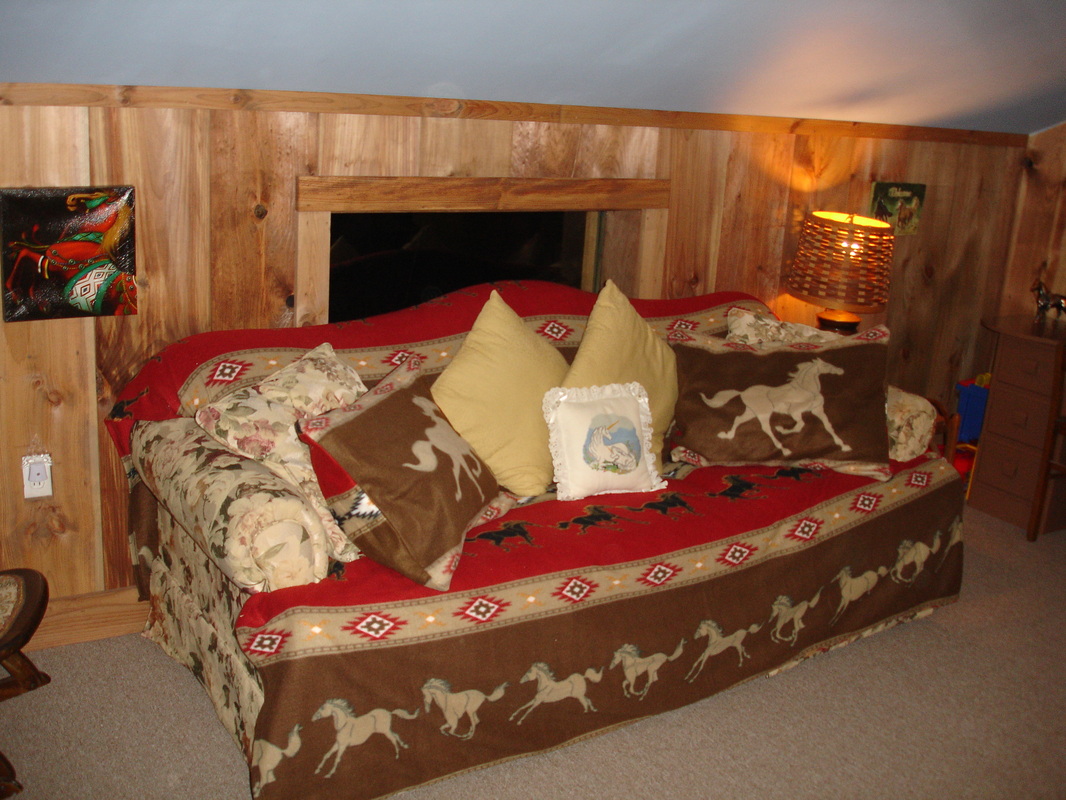
This is going to be our guest room as well so the bed couch has a nice home under the horse fleece blanket. Makes the room that much more cozy.
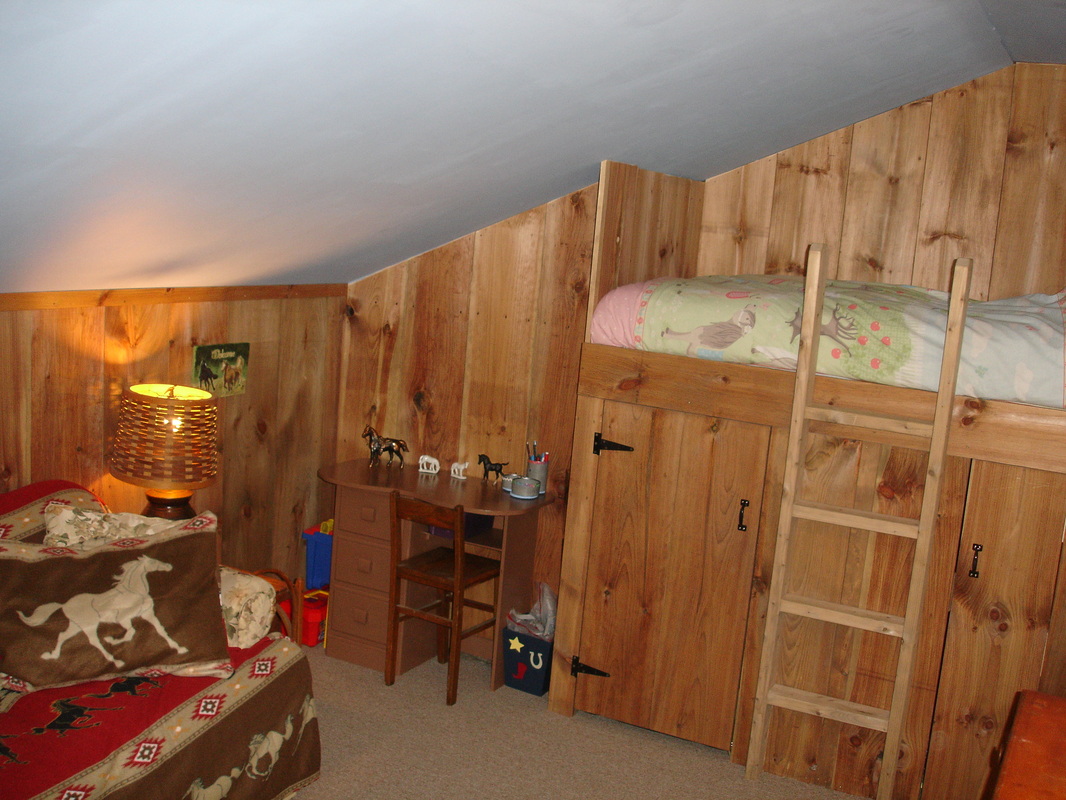
Here is the desk area with the desk I painted over the weekend. Above the desk we are going to build some shelves to put books and Nick Knacks on. We still need to put the trim board up on this side of the room as well as the bed rail on the top of the ladder. I will take another photo when it is complete to show you all the finished picture.
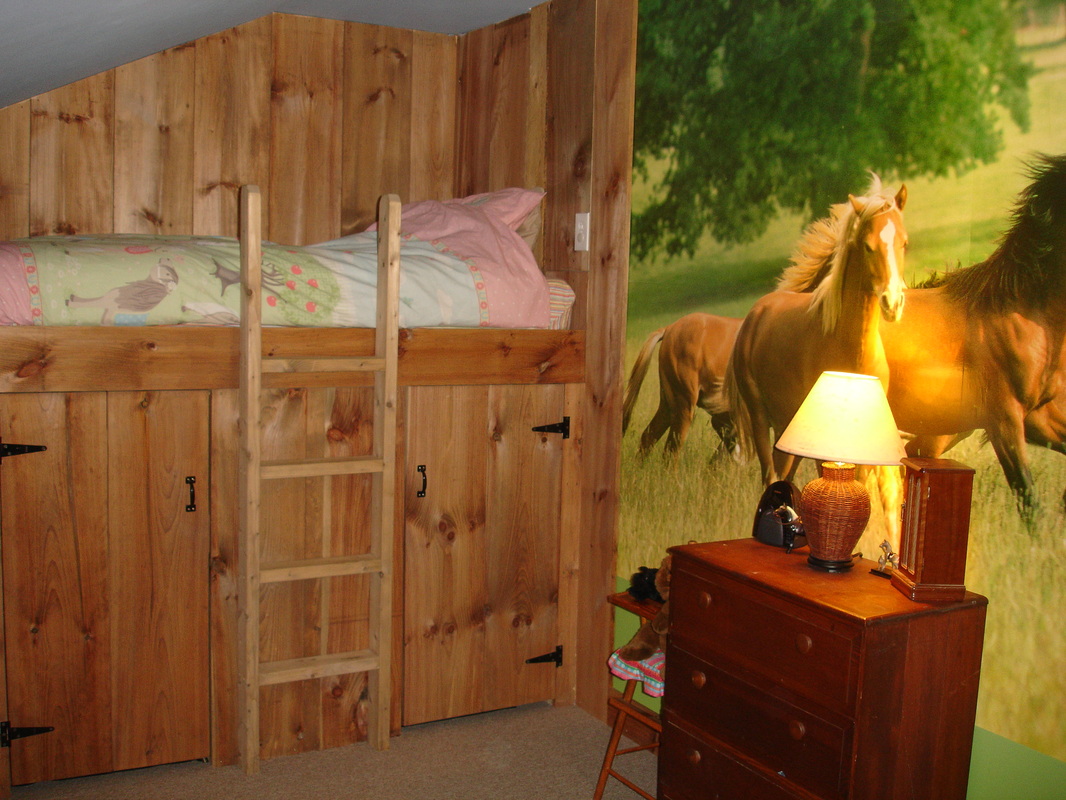
Here is the other side of the room with the mural and loft bed. Again trim boards will be going up tomorrow and I will take another finished picture to show you.
So there we are, one room down 12 more to go! Stay tuned for our next project which is converting Abbie's room into a mystical Fantasy room complete with a dragon and if all goes well a fireplace too!
