Adding a full front porch to the house
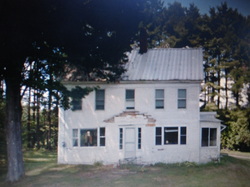
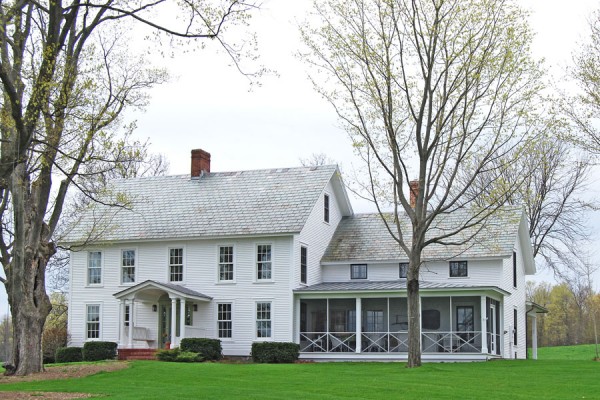
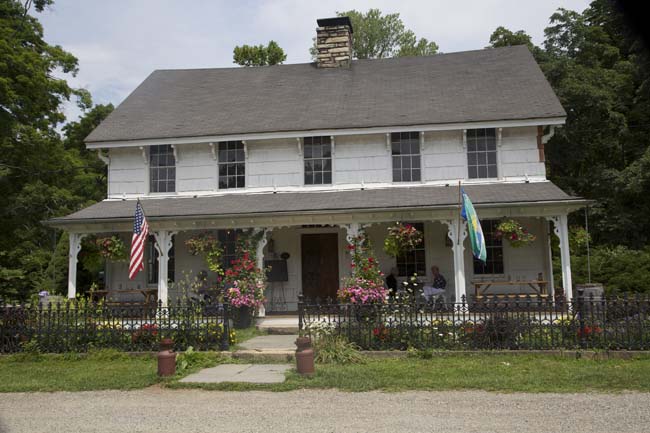
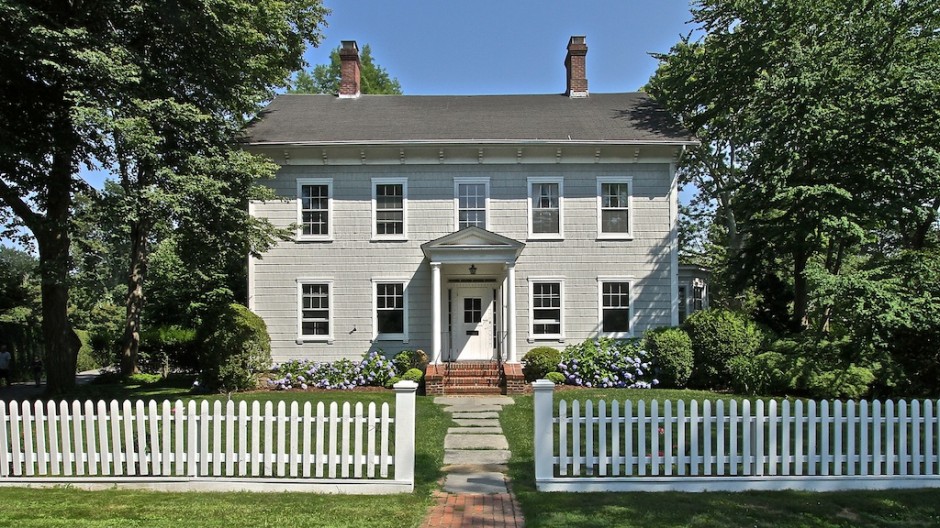
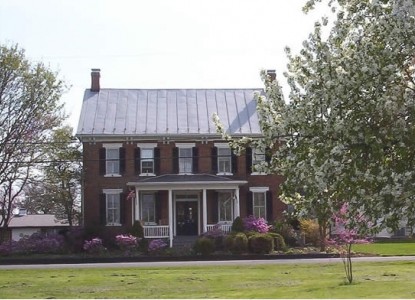
When we first saw the farm house it was quite noticeable that there once was a front porch on it because of all the siding that was hastily put up where it once was. Not a large full sized one, but one that basically covered the front door and a bit more. This if you read the Closing on The New Homestead page, was what we had to repair during our first few weeks of owning the home because the insurance was going to drop us. They did not like the looks of the bandaid repair that was done to it. In the photo at the top of the page you will see the house we built and had to take down had a full front porch that measured 8'x31'. When we dismantled the house we took this down in sections so that we could then save the materials and use them at the farm house either as a replacement porch like was there before or maybe even a full sized one. So I began to research front porch styles on old New England Farmhouses like ours.. there really was quite a few different choices out there...
My thought of course was if we had the materials to do the full front porch we might as well do it as we will get so much more use out of it right? But of course after having to pack, move and dismantle the other house, would we be up to taking on such a large project right now. So we discussed it after the bedrooms were both done and thought about winter coming as lets be honest it was September and we had our first frost already. In preparation for winter we really needed to think about moving the piles of framing (aka the porch in pieces from the other house). With all the time and energy we spent taking it down we didn't want it to rot or get damaged just sitting there during the winter. So we decided to just do it!
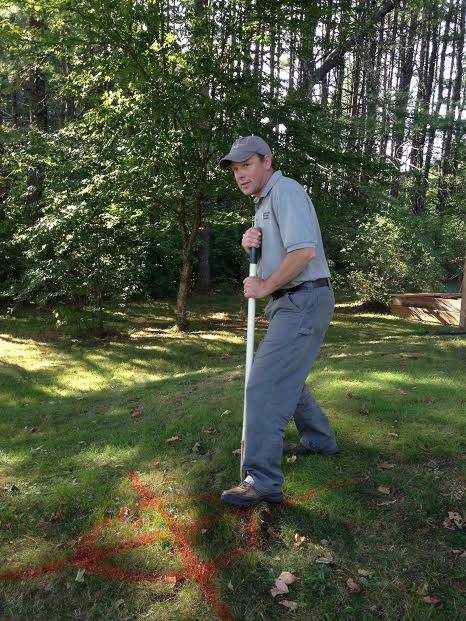
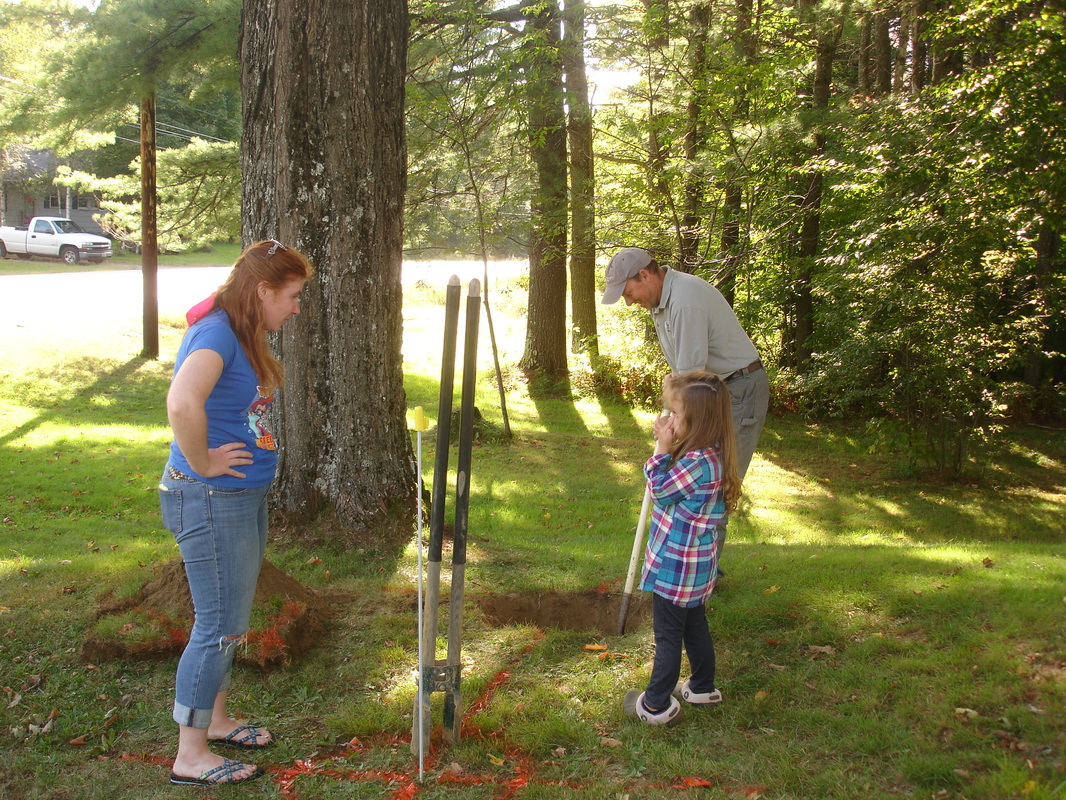
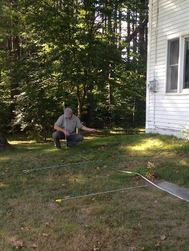 Jon measuring out for footing holes
Now you may think it is an easy job to just scab together the old porch and attach it to the farm house, but in actuality it would have been easier using all new materials. We had to literally take apart all the sections so we could go back to just single boards, we had to take out all the nails, re-cut each board to fit the new porch measurements I began to wonder if this was such a good idea! LOL But in perfect Burrows fashion we met the challenge head on and persevered through it all until we piles of useable material waiting to be assembled! Now the fun could begin!
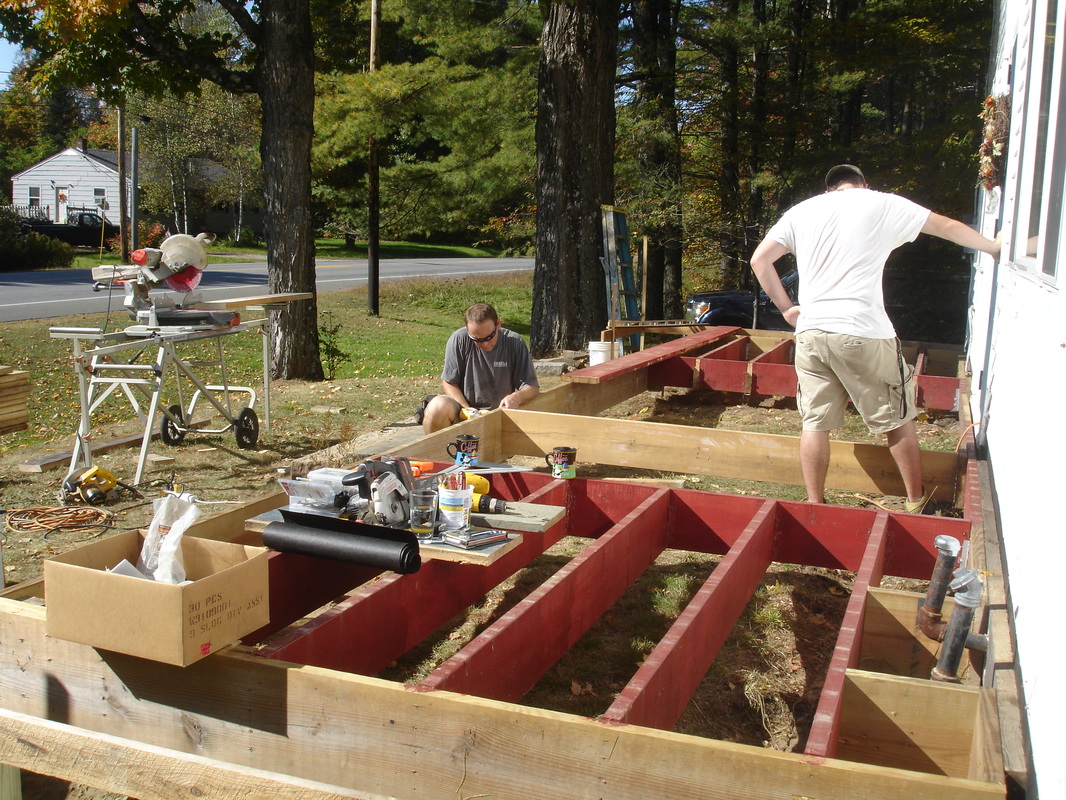
First on the agenda was measuring out the porch and marking it out so we could dig holes for the support beams. Being that we live in Maine where the ground frost level runs deep, these holes need to be a minimum of four feet deep. We also needed to visit the town office to attain the building permit needed to actually do the construction work which was quite simple to get thank goodness! Let the digging commence!
First on the agenda was measuring out the porch and marking it out so we could dig holes for the support beams. Being that we live in Maine where the ground frost level runs deep, these holes need to be a minimum of four feet deep. We also needed to visit the town office to attain the building permit needed to actually do the construction work which was quite simple to get thank goodness! Let the digging commence!
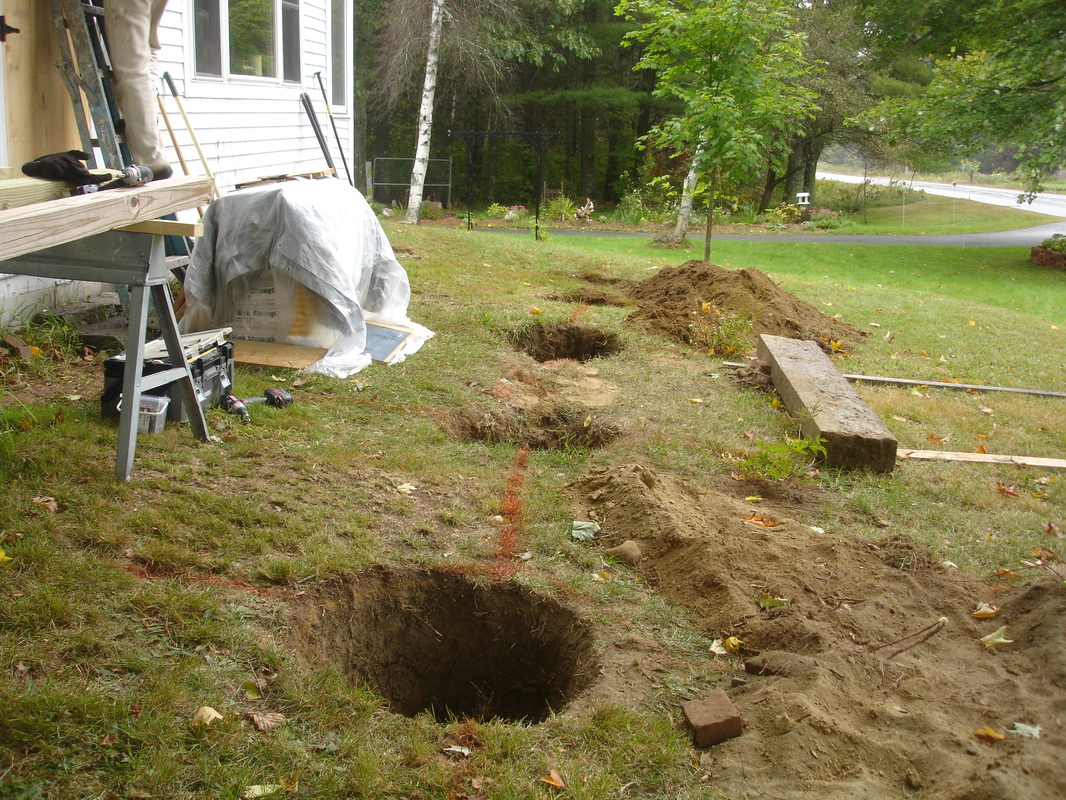
 Jon attaching the paper where the face plate will attach to the house
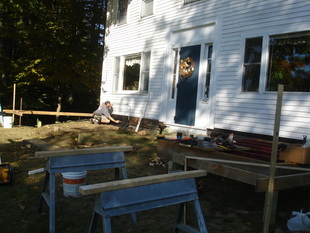
Once the holes were dug we could pour the cement footings and start on the base structure of the porch. Because we had to cut some of the boards down due to unusable ends, the finished porch will be just about 8'x30' which will still fit nice. We left the bottom floor structures intact so that all we had to do was carry them over and place them in their spots. Of course the bases weigh about 400+ pounds each section as the substructure was made from 2"x10"x10" boards, some of which were pressure treated so weigh more due to being treated to prevent rot and insect damage. The porch itself would only be a a foot or less off the ground so it is going to be considered farm porch without a railing. Ben happened to be home during this time frame which was great as he was a big help with the moving and lifting up to attach the floor base to the side of the house.
First Jon had to measure and remove siding from the house so that he could attach a base plate to the house to anchor the deck flooring to it. This area was first covered with paper made especially for preventing water from getting behind it. We anchored the board using anchor screws especially designed for the purpose of securing the board to the house. Once this was done we were able to move the flooring sections into place and secure them to the face plate.
First Jon had to measure and remove siding from the house so that he could attach a base plate to the house to anchor the deck flooring to it. This area was first covered with paper made especially for preventing water from getting behind it. We anchored the board using anchor screws especially designed for the purpose of securing the board to the house. Once this was done we were able to move the flooring sections into place and secure them to the face plate.
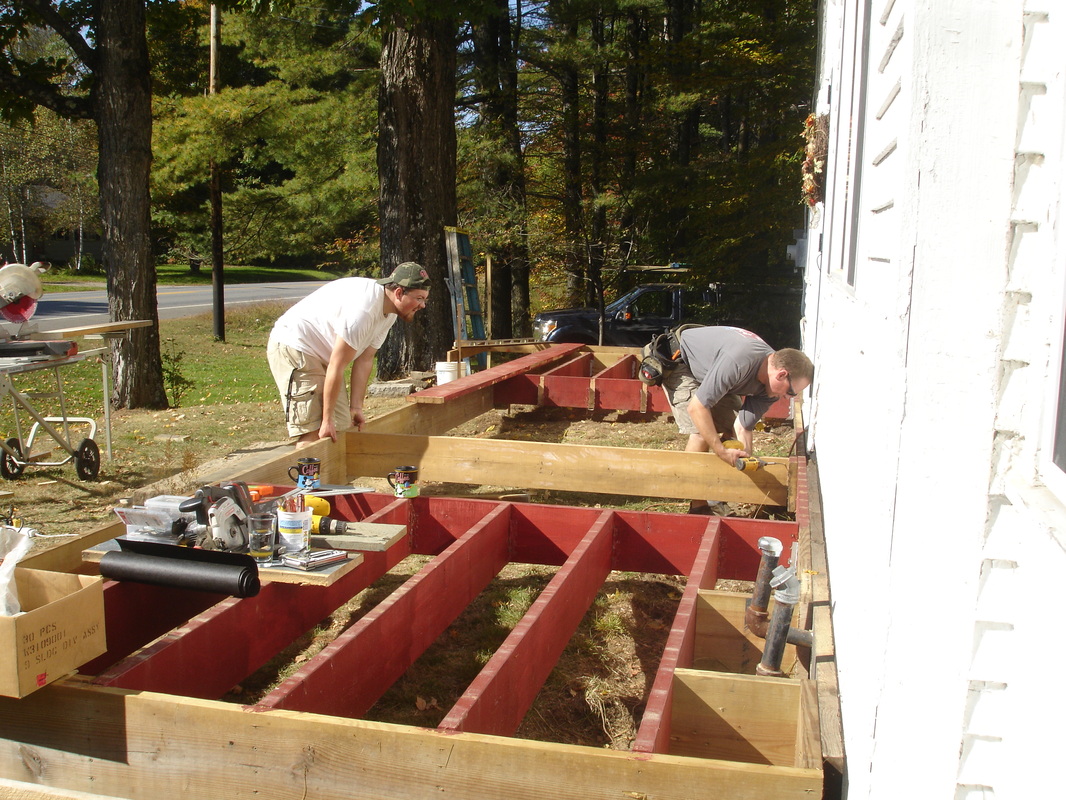

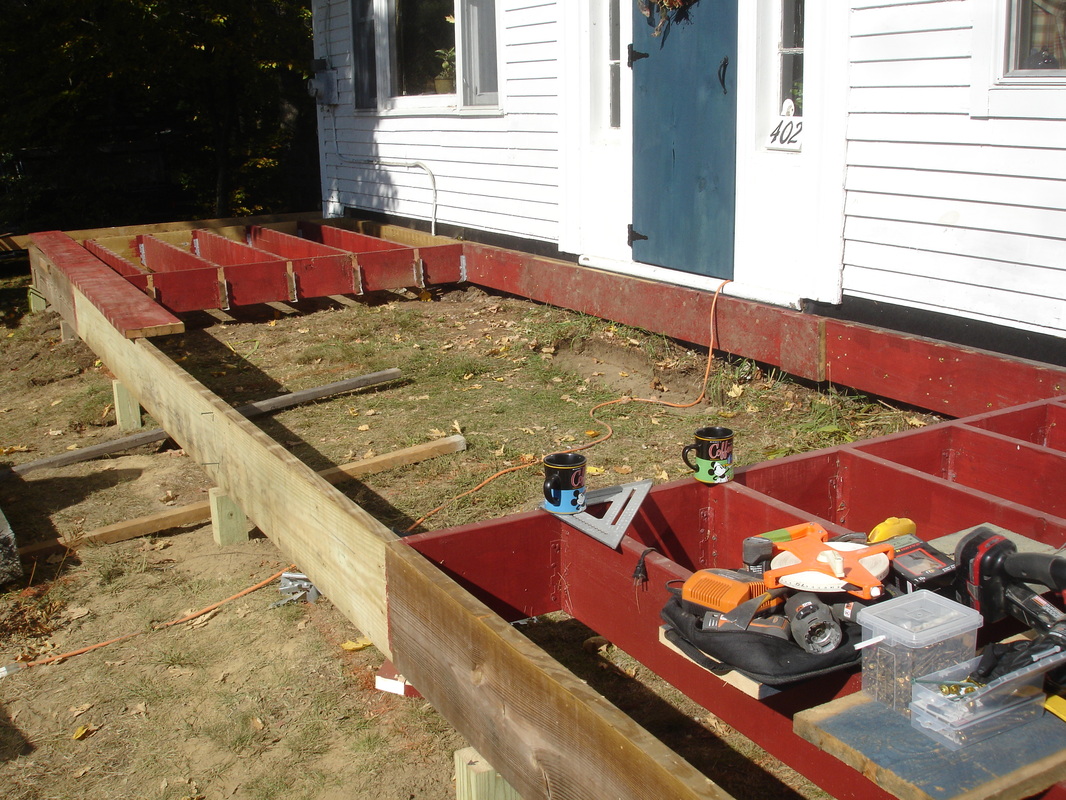
Once the decking was attached and secured we were had to add some joists back into the center base area using joist hangers and salvaged wood. This again was all from the porch we had taken down at the other house. The hardest job at this point was making sure everything was level and square so that the finished project would not only look good but would last for many years to come!
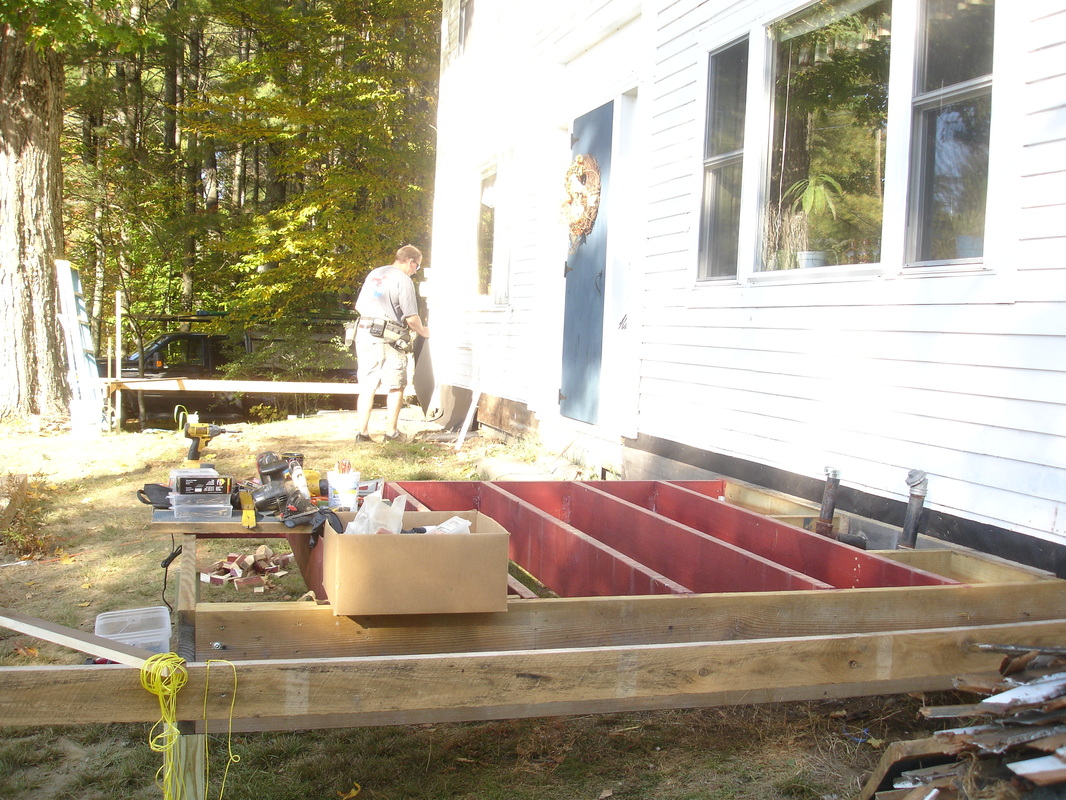
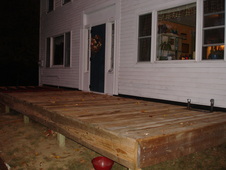
With the base on and secured it was now time to add the deck floor boards! These again were recycled and only had to be screwed down so this part went really fast as they were basically already cut to length! The only materials we had to buy as far as wood was the front plate you see here in this picture that went the length of the porch.
With the base on and secured it was now time to add the deck floor boards! These again were recycled and only had to be screwed down so this part went really fast as they were basically already cut to length! The only materials we had to buy as far as wood was the front plate you see here in this picture that went the length of the porch.
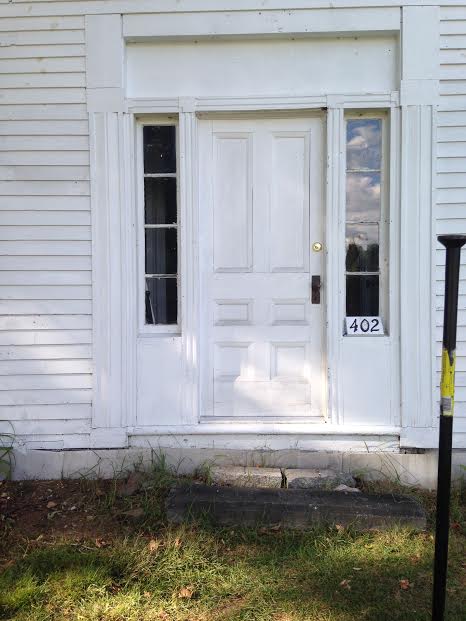
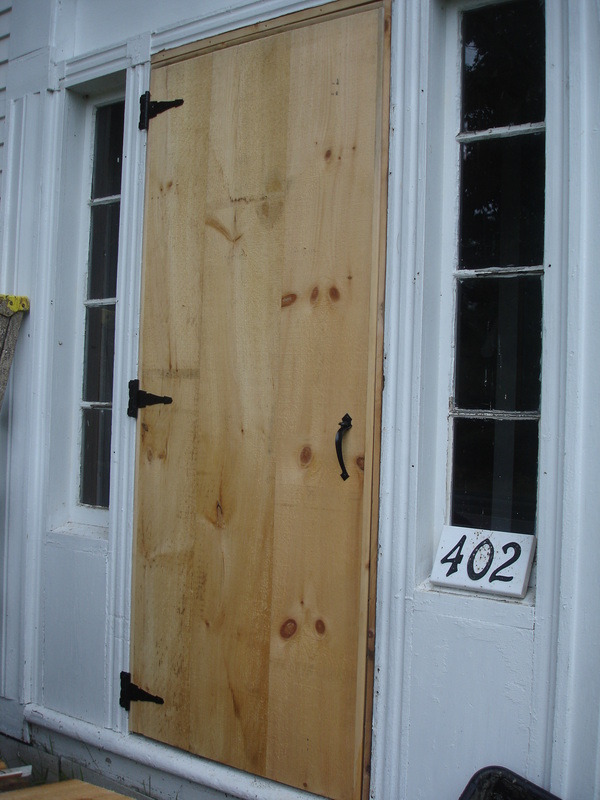
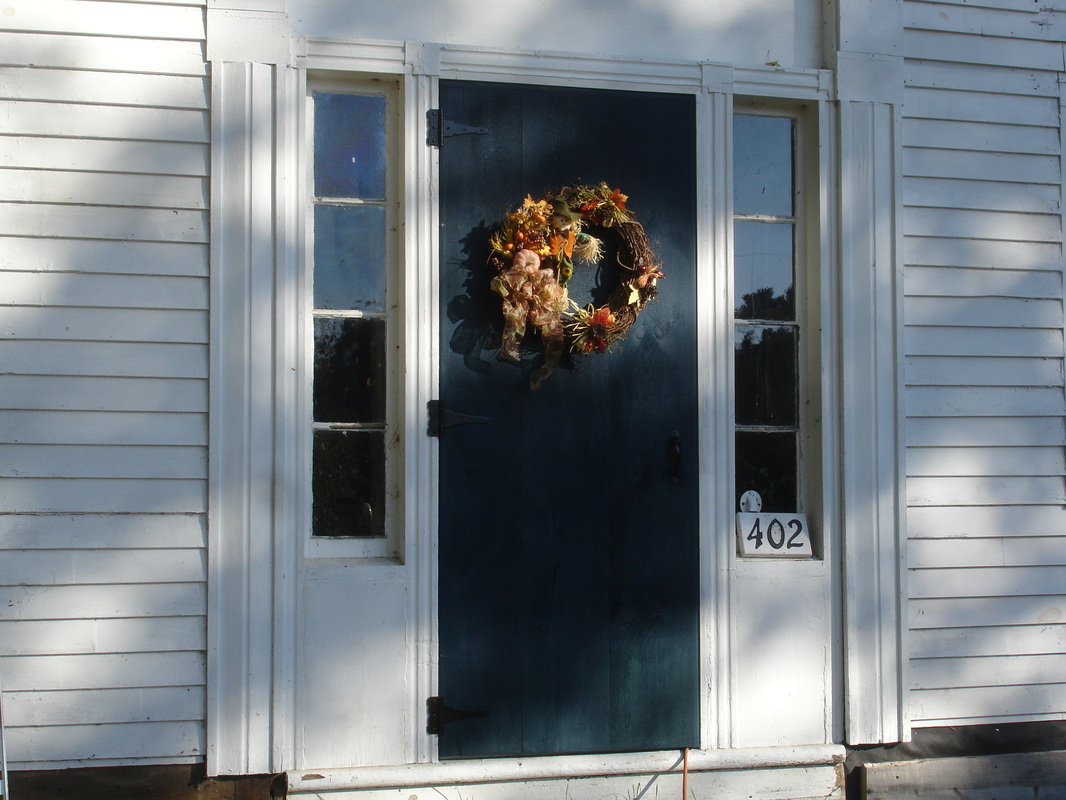
At this point I should probably mention the front door. The original door was nice but not weather tight and definitely very aged. We had discussed replacing it but with money tight and a custom size it would cost a fortune to buy a new one. We headed to the barn and decided to use another recycled item from the other house. A Custom door that Jon made for the other house that we could use in front of the original door creating a double layer! We brought it out and it was almost a perfect fit! Meant to be? Absolutely! So we stained it the color of our old house as we had 5 gallons of it left over and attached it using some vintage looking hardware! What a transformation it really made to have a colored door on the front!
Now it was time to add the beams and roof system to finish the structure of the porch! This again was all materials from the other house including the posts. With a height difference we did have to cut down the posts a few inches to accommodate the lower roof system but it still is high enough to be able to hang planters which I am excited about!
We began by attaching and supporting the upright posts to the decking floor. These needed to be as level as we could possibly make them and eventually will be boxed out with trim to give it a more finished look instead of the rough sawn lumber look but probably not until next year. Once the posts were in we could once again cut the siding and secure a wall plate to the house where the roof will attach. This was done exactly as we did the base using 2"x10" boards and bolts putting a layer of felt paper between the board and house. This is the board that the roof joists will be secured to so it was important to make sure this was attached very well to take snow weight during the winter.
The angle of the roof was a bit different then the other house so we did need to recut the joists to get the pitch correct. The front upright posts were cut and a main support beam made using a double layer of 2"x6"s was secured across the front. This is where the roof joists would rest on so again would need to be secured well to carry weight from snow. Once the joists were on and secured it was time to put the boards on as strapping to be used to screw the roofing into. Because we recycled the roofing too, we had to lay the strapping on in not so straight rows as the holes didn't quite line up as we had expected them to. This won't matter structurally only ascetically which we plan on covering up with boards at some point to finish it off. Below is a series of photos showing the steps from the posts being put in until the roofing installed.
