How to make Raised Garden Beds
Raised bed cooking until May :)
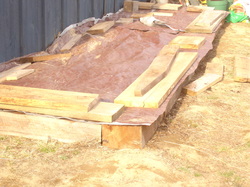
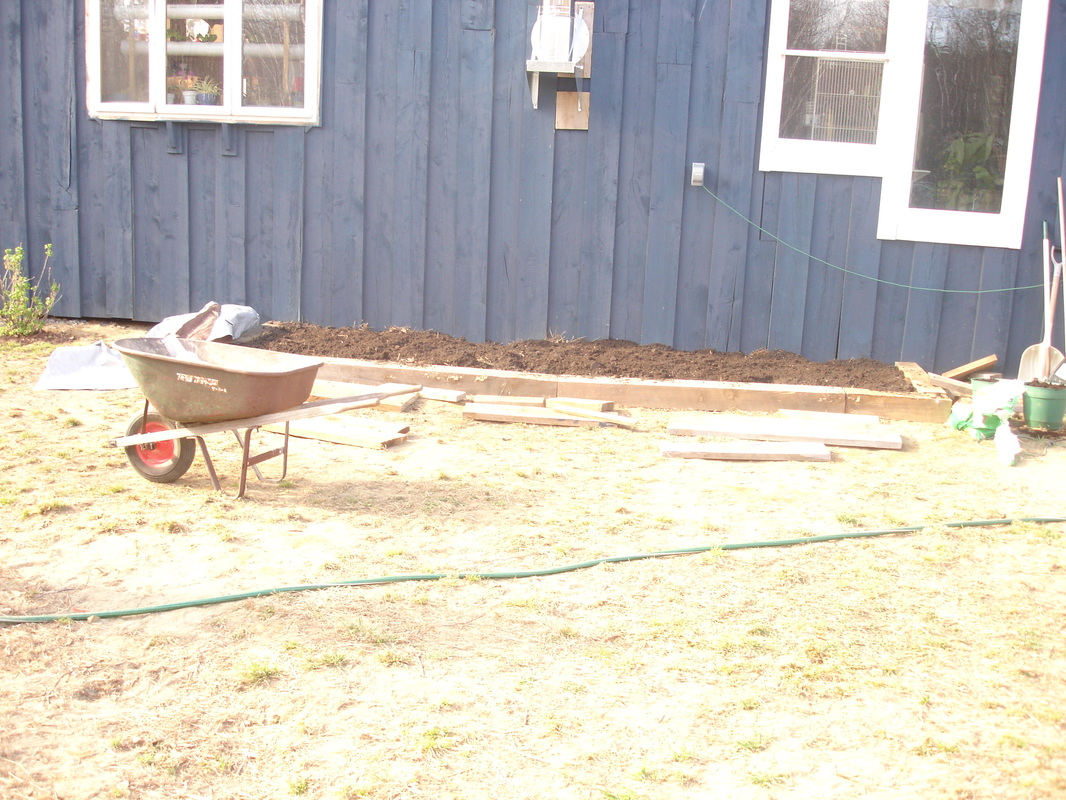
So like usual it started off as a small project - finding some wood around the house to make a raised bed. I did this with no problem, found some off cuts from our hemlock beams, placed them neatly along the ground on the south side of the house. Filled it in with some composting mulching hay, manure, organic compost, and some top soil. Watered it well, covered it with an old tarp and left it to bake! So that was yesterday...
Today...Jonathan and I did our usual stroll around the yard trying to figure out what we need to do, what is really what we need to do, and of course what we really, really need to do. We have been waiting for rain now for over a week... so we are holding off seeding the lawn until the ground has a little moisture in it - that was out. We could build the buck habitat as pretty soon we will need to separate the kids... but what about gardens? So we discussed placement, type and of course size. Now living on a bed of sand we have great drainage but no nutrients so we need to add a lot of additives in order to get a good rich loam to grow in. So how about more raised beds? Yes, that is the way to go. And of course Jonathan has an easy sure way of building them.. so off to the DIY store we went to buy the supplies we would need.
Today...Jonathan and I did our usual stroll around the yard trying to figure out what we need to do, what is really what we need to do, and of course what we really, really need to do. We have been waiting for rain now for over a week... so we are holding off seeding the lawn until the ground has a little moisture in it - that was out. We could build the buck habitat as pretty soon we will need to separate the kids... but what about gardens? So we discussed placement, type and of course size. Now living on a bed of sand we have great drainage but no nutrients so we need to add a lot of additives in order to get a good rich loam to grow in. So how about more raised beds? Yes, that is the way to go. And of course Jonathan has an easy sure way of building them.. so off to the DIY store we went to buy the supplies we would need.
Supplies needed for Beds...
Building the first bed
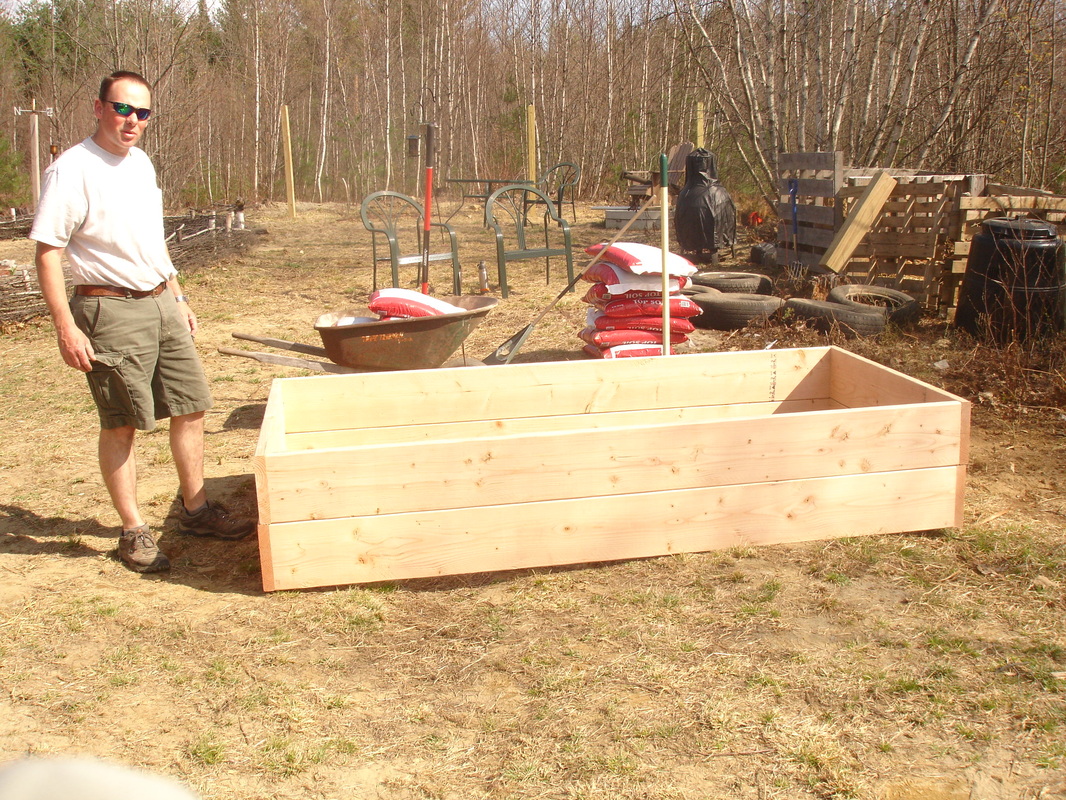
Very simple beds are made from kiln dry wood 2"x10"x8' - this allows you to make 4'x8' beds that are easy to reach from all sides as well as simple cutting of just one board! For each bed you will need 3 (2"x10"x8') boards and some screws to assemble it. We opt to not use pressure treated or railroad ties as they are of course treated with chemicals to deter bugs. This of course can leach into the soil and into the plants you are growing. Ok if you don't plan on eating them - like an ornamental garden, but if your intentions are to eat from them I would just buy regular pine boards. Yes they will rot after a few years but I would rather replace them then poison my family.
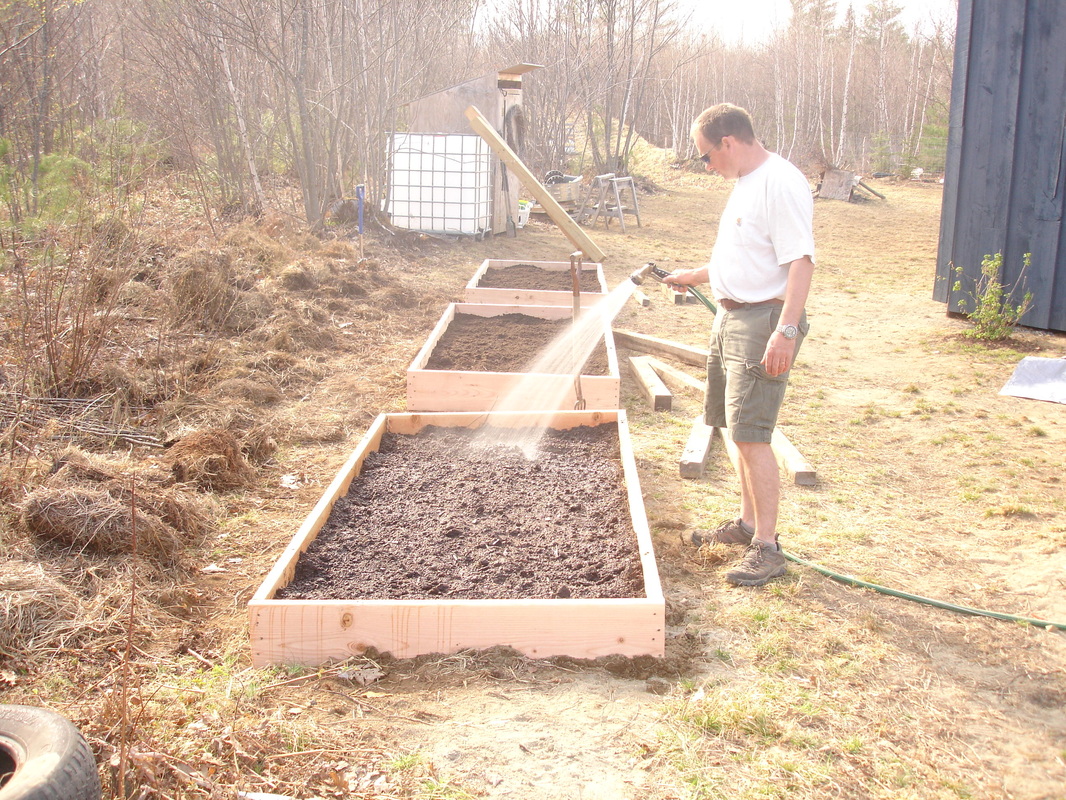
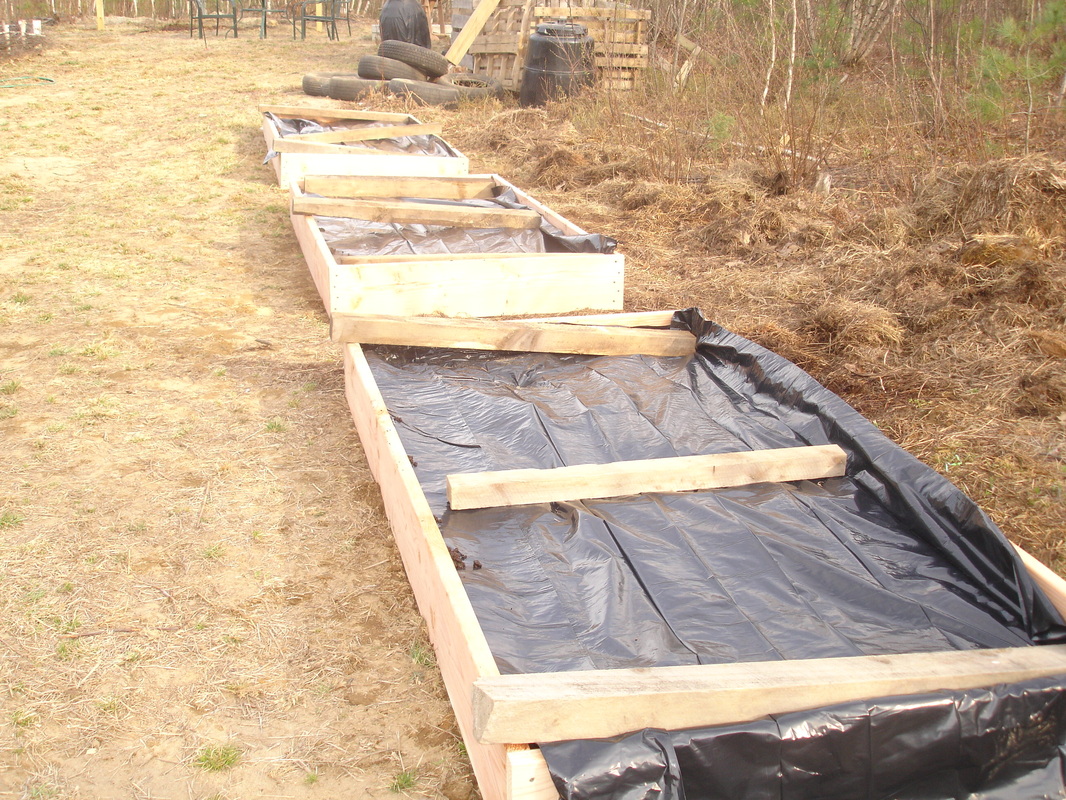
See can't get any easier than that. Just attach the boards together and place them in a location you would like your beds to remain. We chose to run them along our wood line where they will get full sun for most of the day. Once the beds were assembled we filled them with old mulch hay that has been composting, top soil, and composted manure. We then watered the beds good and covered with black plastic - this will cook the beds killing any seeds left from the hay and hopefully make a rich humus soil that will be ready to plant in the end of May. We may have to add a bit more compost or soil prior to planting but it is a good start for now. So all in all we now have 4 raised beds to plant in for this summer and for many years to come! sorry the pictures are bright from the sun
See can't get any easier than that. Just attach the boards together and place them in a location you would like your beds to remain. We chose to run them along our wood line where they will get full sun for most of the day. Once the beds were assembled we filled them with old mulch hay that has been composting, top soil, and composted manure. We then watered the beds good and covered with black plastic - this will cook the beds killing any seeds left from the hay and hopefully make a rich humus soil that will be ready to plant in the end of May. We may have to add a bit more compost or soil prior to planting but it is a good start for now. So all in all we now have 4 raised beds to plant in for this summer and for many years to come! sorry the pictures are bright from the sun
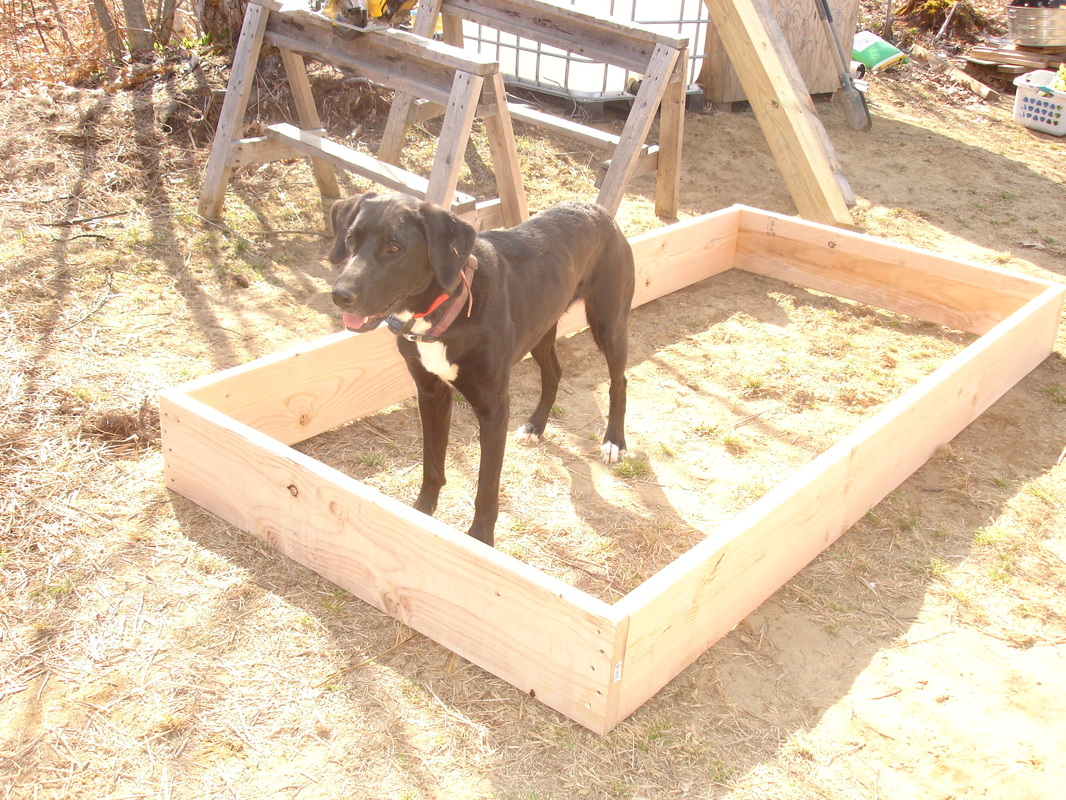
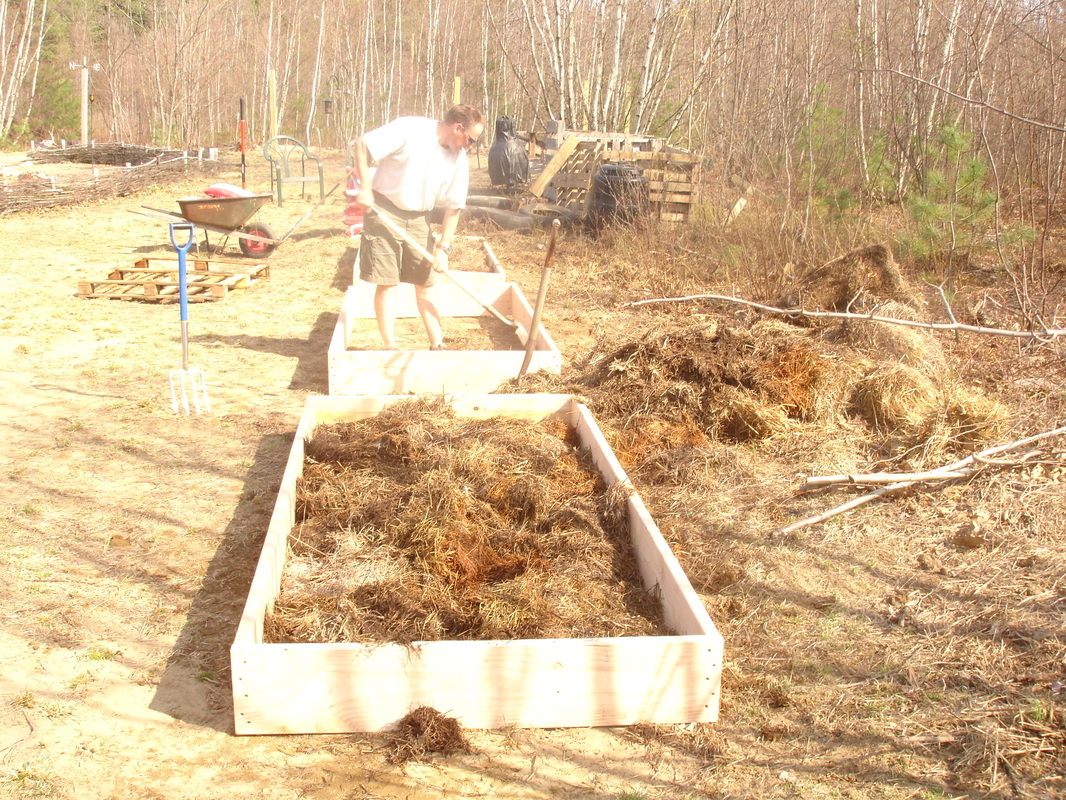
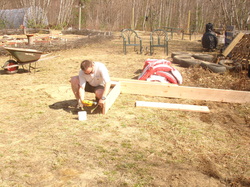
Top left: Jon building the frames Top Middle: Roslyn helping out Top Right: Adding the mulch hay
Bottom left: Watering the beds Bottom Middle: Raised bed near house Bottom Right: Time to cook until May
Bottom left: Watering the beds Bottom Middle: Raised bed near house Bottom Right: Time to cook until May
