Pie Crust - Double Crust

Fresh baked Strawberry Rhubarb pie
I have been making my own crust for years. In that same amount of time, I have met many people who can not make there own no matter how hard they try. Others don't want to bother and it is just easier to buy the already made crusts at the store in the freezer section. But I like to know what went into my crust just like I like to know what goes into all my food I put on the table for my family. This is a recipe that works for me all the time.
Dough can be finicky just like anything in life. If it is hot out It can work too easy, if it is cold out, it can be stubborn. The key is just to be patient and follow these steps. You won't be perfect every time but heck what does it really matter if the crust isn't perfect - your just going to eat it right? So let's get rid of the hang up of having to have the perfect pie on the table like some 1940's picture of a woman in her apron holding the perfect pie in her hands... life isn't perfect all the time. I am not looking to win any blue ribbons - just put some smiling faces on the family... if I can accomplish that then I have my award!
Dough can be finicky just like anything in life. If it is hot out It can work too easy, if it is cold out, it can be stubborn. The key is just to be patient and follow these steps. You won't be perfect every time but heck what does it really matter if the crust isn't perfect - your just going to eat it right? So let's get rid of the hang up of having to have the perfect pie on the table like some 1940's picture of a woman in her apron holding the perfect pie in her hands... life isn't perfect all the time. I am not looking to win any blue ribbons - just put some smiling faces on the family... if I can accomplish that then I have my award!
Ingredients
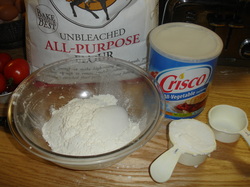
Simple ingredients
So what goes into a pie crust? Guess what a few simple ingredients! Flour, shortening and water! How hard can it be right? Well the key is exact measurements! Yes exact does matter!! I had a foods class years ago in High school, yeah I know I just aged myself by saying years ago, but she was that woman from the 1940's picture of the perfect pie. Honestly she was my mother's foods teacher too! So she gave our class old time know how, first of which was exact measuring of ingredients.
Let's start with flour. To get an exact measurement of flour you need to either sift it or give it a good stir in the storage container before you measure. Why you may ask? You need to put air back into it to make the flour less dense as it settles just from the vibrations in your house. This makes what ever you are making a bit lighter and flakier. When you measure out the flour, take your measuring cup (make sure it is a dry measure cup!) and scoop out the flour so it is heaped. Now take a flat edged item like the back edge of a butter knife and cut off the extra flour. This is easily done by dragging the back edge of the knife along the top edge of the cup. This gives you a true measure. If you want to really get fancy, you can measure your flour using a scale in ounces which will give you an EXACT measure every time. I am not that fussy so if I stir my flour, measure it cutting off the extra flour, then I know my crust will be just fine. So let's get going and show you how to make a crust.
Ingredients
2 Cups All Purpose Flour
2/3 Cup Vegetable Shortening or butter, softened
1/2 Cup very cold Water
Step 1 - Cutting the dough
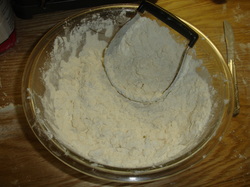
Cutting in the shortening
After you follow the tip on measuring flour out, place the 2 cups needed into a large bowl. Measure out your shortening in a dry measure cup. Pack the shortening into the cup, pushing it into the cup to get rid of any air pockets. It is good practice to heap this up too and cut away the extra to get an exact measure. Now using a pastry blender (or two knives) cut the shortening into the flour by pushing the blender into the shortening/flour using a downward rocking motion. Continue cutting until the shortening is incorporated into the flour with no chunks larger then pea size. This distributes the shortening evenly throughout the flour. I normally only use vegetable shortening, but butter can be used too. Butter is more expensive, makes the dough a bit yellower in color, and of course tastes of butter :)
Step 2 - Adding the water
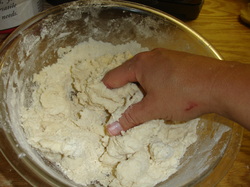
Adding the water
Like the flour and shortening, measuring the water is an exact measurement as well. That and using really cold water helps make your crust better. I add the water all at one go... and then mix the water into the flour mixture until a soft dough forms. Using my hands to mix the dough into itself and scraping the sides. Yes this is just like making mud pies when you were little!
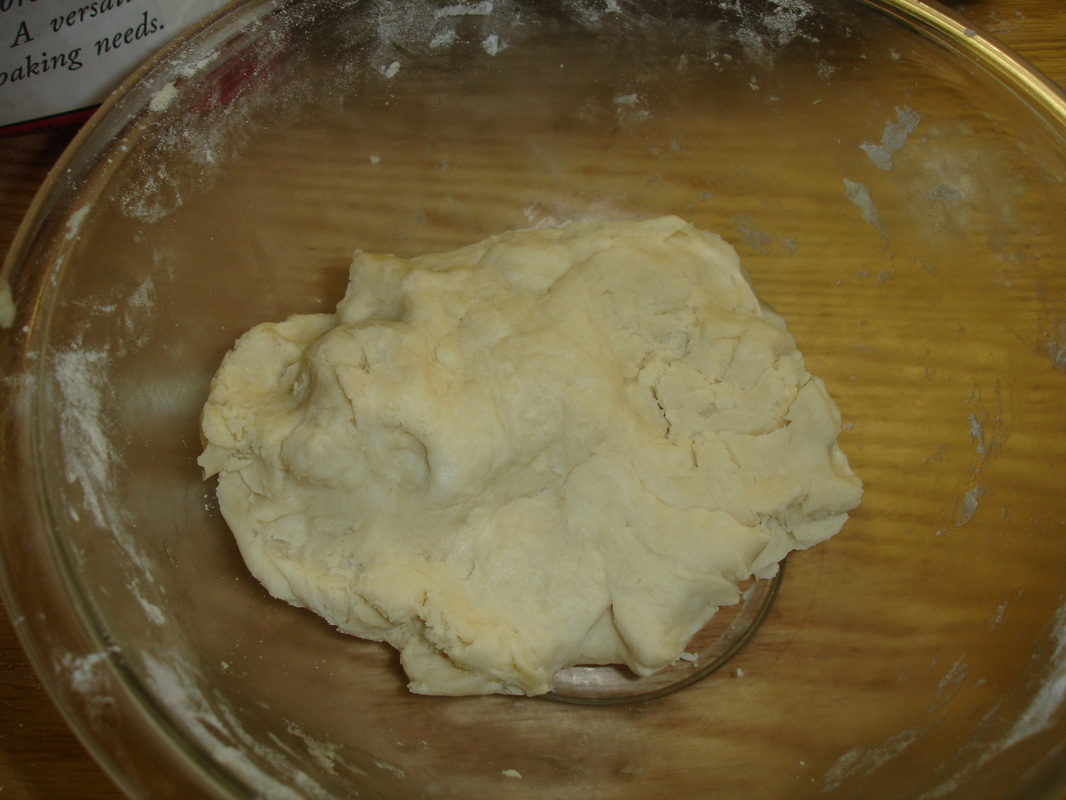
Soft dough ball for double crust pie
Step 3 - split and roll
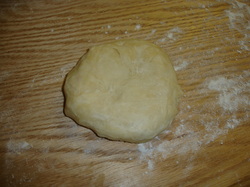
Shape the ball into a flat ball
Now it is time to roll out your crusts. I split the dough ball in half and set aside one half for the top crust. Take a small handful of flour and dust your work surface. Pat the dough into a flattened ball similar looking to an english muffin and place on your work surface. Dust your rolling pin with flour and starting from the center of the ball roll away from you towards 12 o'clock. My technique is working around the clock to keep the crust uniform and round. I also flip the crust over when I reach about the half way point to the finished size. So from 12 o'clock move on to 1 then 2 then 3 and so on starting the roll from the center of your circle.
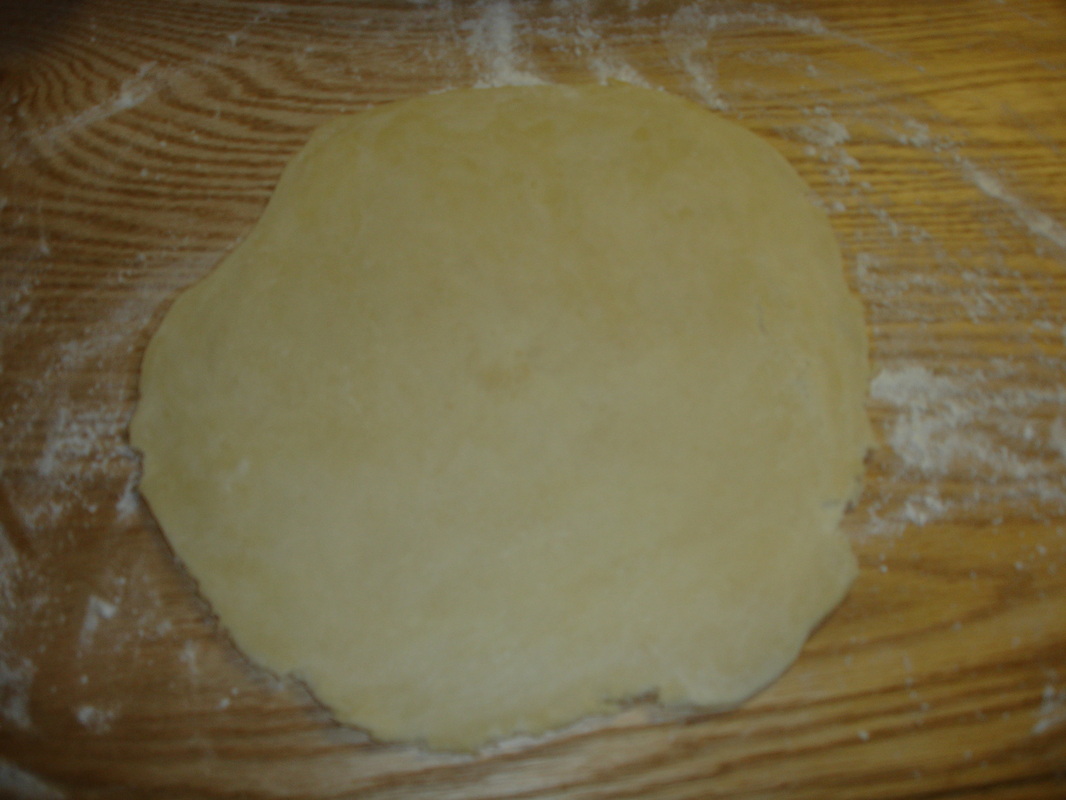
Crust rolled out half way to full size - keep uniform and round
Step 4 - Placing the crust in a pie dish
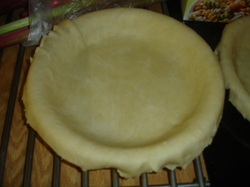
Placing crust in dish
One of the tips my foods teacher gave me was to look for the swirl in your dough. What this means is as you are rolling your dough out there should be a visible swirl of fat almost like marbling in meat throughout the crust. This tells you that you cut your shortening correctly into the flour and will give you a really tender and flaky crust. Once you think you have rolled out the crust to the correct size (tip take your dish and place it over the crust, if the crust is about 3 inches larger then the pie dish on all sides - you should be fine) it is time to place the crust into the dish. This is easiest by folding the crust in half towards you and placing your dish on the work surface just at the bend of the crust. Lift the crust up and gently place the dough onto the dish about half way. Then simply unfold and readjust as needed by lifting and replacing. Be careful as the dough may split if you man handle it too much. Once it is in place trim off excess dough from around edges to give you about an inch or so overhang. Now it is time to roll out the top crust - so just repeat all of the above again :)
Step 5 - Filling your pie
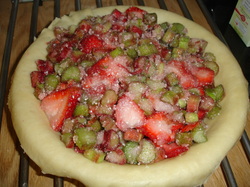
Filling the pie
Now it is time to fill with your favorite filling like apples, blueberries, peaches, or in this case Strawberry Rhubarb! In order to make this you will need 3 Cups of sliced rhubarb, 2 cups of sliced strawberry, 3 Tablespoons Quick or 1 minute Tapioca (aides in thickening), 1 1/4 cup Sugar and 2 Tablespoons of Butter. In a large bowl mix the sugar, rhubarb, strawberries and tapioca and set aside while you make your pie crust. Before placing the top crust onto filling, take the butter and cut into cubes and place around the top of the filling. Cover with top crust by placing the crust on and trimming to about an inch around the outer edges. Fold the top crust over the bottom crust about an inch or two, and tuck into the sides of the dish. This seals the crust and filling is kept inside. Time to crimp edges.
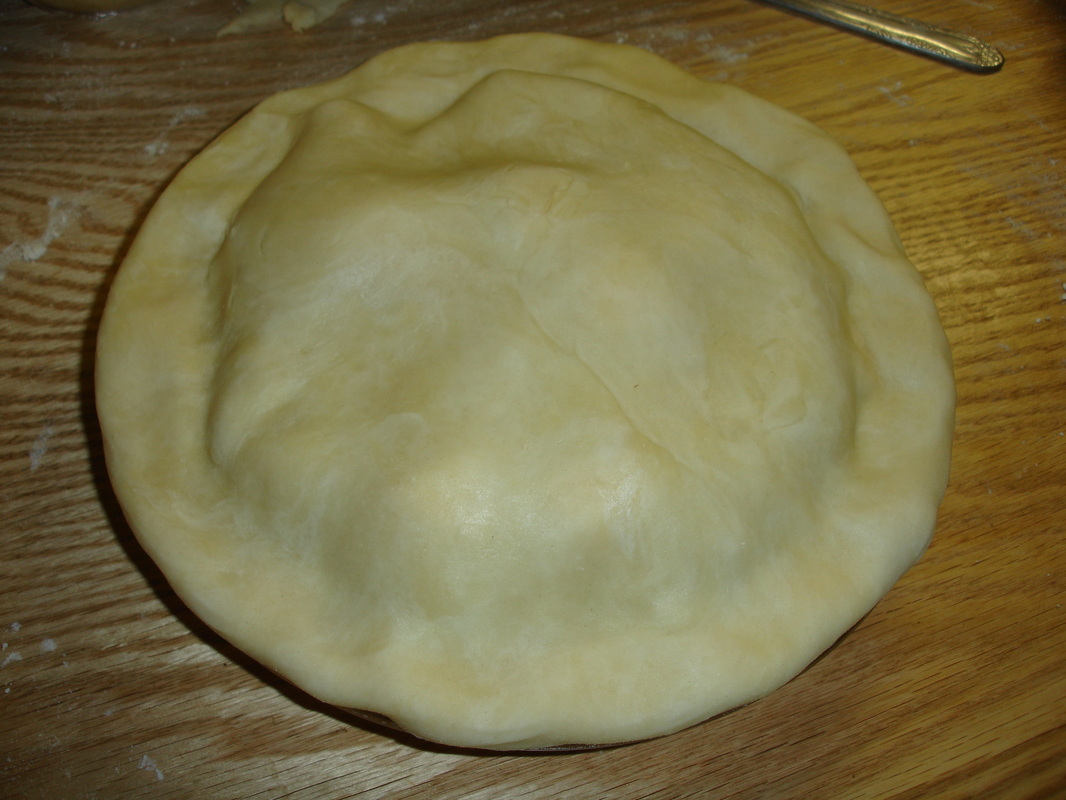
Top crust on and edges sealed prior to crimping
Step 6 - Crimping the edge
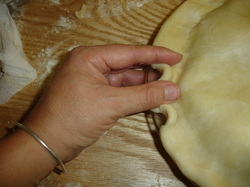
Crimping the edge
Crimping the edge basically just gives you a finished edge. You don't really have to do this step but it does look good when it is done. Placing your thumb and pointer fingers evenly placed on dough as pictured, use your pointer on your other hand and pull the dough back creating a crimp. Do this on the whole pie until you reach the beginning again. Cut 4 to 6 vent holes into the top crust in the center. Now bake in 375 degree F oven for 50-55 minutes or until golden brown. Allow to cool.
Time to eat and enjoy! I serve Strawberry Rhubarb pie with a scoop of vanilla ice cream or a dollop of whipped cream. Yum! Happy Cooking!
Time to eat and enjoy! I serve Strawberry Rhubarb pie with a scoop of vanilla ice cream or a dollop of whipped cream. Yum! Happy Cooking!
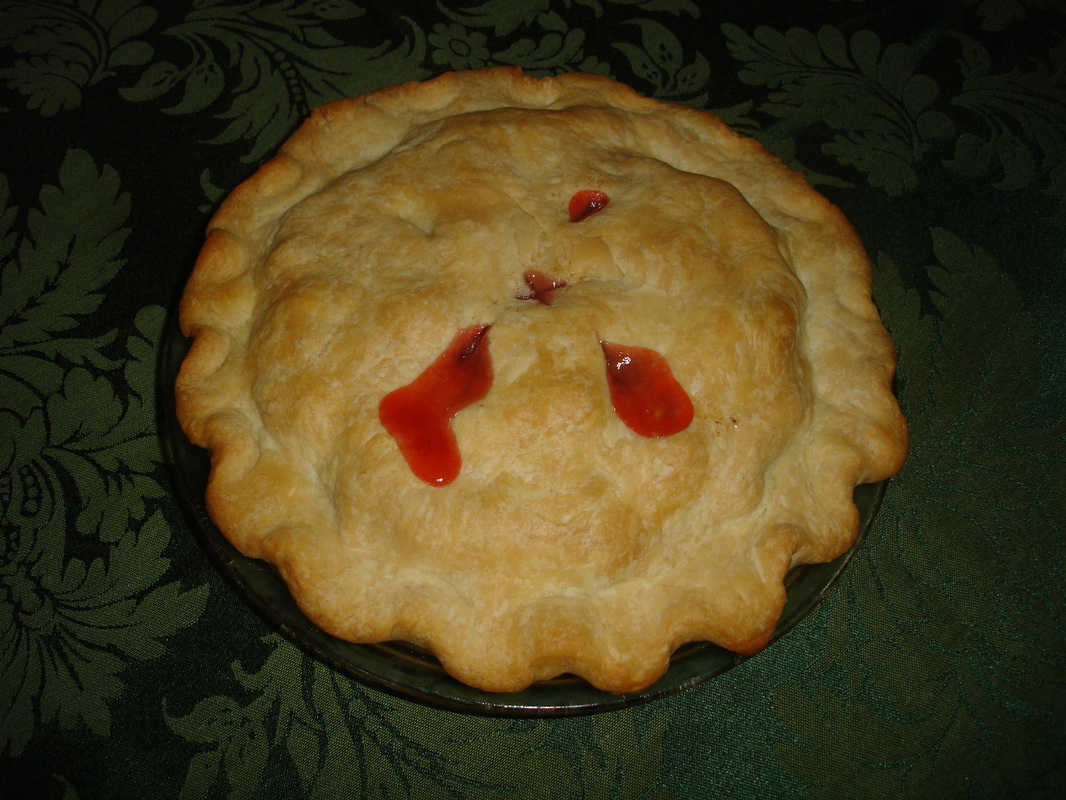
Fresh out of the oven Strawberry Rhubarb Pie
