How to make Homemade Stain for aging wood
Stain from Vinegar and steel wool
Ok so you know how I am always trying to make my own things right? Well when Ariana, our youngest daughter, wanted a barn themed room I wanted to make the walls out of "barn wood". Have you priced barn wood at the mills? Holy cow I could actually buy a cow for the price of that specialized wood. So I was on mission to make my own barn boards using wood we could afford. Well if you can believe it, it is as simple as mixing vinegar and steel wool. No kidding! Yes the acids in the vinegar breaks down the metal causing this concoction when applied to wood to make it look aged. Below is what we did here and are guidelines for others who may want to try this at your house for wood paneling, tables, counter tops, signs.. the list is endless. Have fun!
How to make Stain from Vinegar, Steel wool and a tea bag

First mixing the vinegar and steel wool
I did a lot of research after seeing this technique used on a home improvement show a few months back. I couldn't believe that something this simple could actually work. I was able to find some good recommendations from other people as well as tips for making this solution better. The biggest choice you will need to make is whether to use White Vinegar or Cider Vinegar. The difference as far as I can tell is the White will make the wood greyer and the cider will make the wood have a browner tone. Because I wanted to the room to tie in with the horse theme, I chose to use cider vinegar.
Now another big tip that I found when making this is use the lowest steel wool number you can find. I had no idea steel wool came in so many grades the finest being 00000 which is ultimately the best for making stain as it breaks down the fastest. I had a package at home that had a variety in it and took 2 of the finest ones in the bag to make our stain. I have no idea what the number was but it was fine. Make sure it is pure steel wool as I guess some cheaper varieties are not just steel. Before using the wool, everyone recommends washing the wool with soap and hot water as the manufacturer uses an oil on the steel wool to prevent it from rusting in the bags. This will need to be washed off prior to adding it to the jar so it breaks down faster.
Now it is time to go to chemistry class. Take a large jar or container (I used a 1/2 gallon sized canning jar with lid). Place the two steel wool pads into the jar. Fill jar up almost to the top with vinegar - screw the lid on and let it sit for at least 24 hours. I found my jar started to react with bubbles and built up pressure so that I had to open the jar a few times to release this pressure. I also shook the jar a few times just to mix the solution a bit. Now it is time to wait... patiently...
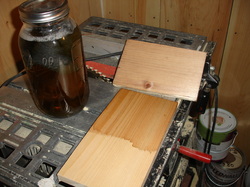
Ready to test the color
Jar after sitting for 24 hours
Ok congratulations you have made it past the 24 hour mark! I almost didn't as I was getting really impatient to see what color the stain came out as. So I had a piece of wood ready and when the time was up I instantly painted a board with the mixture. I used just an old paint brush we had and it looked just like water when I put it on. Guess what? Hah you know that saying about waiting for paint to dry.. yeah well in order to get the full effect of what color the stain is, you have to wait until it dries.. ugh!!! So I set the board aside and waited... and waited... and waited...
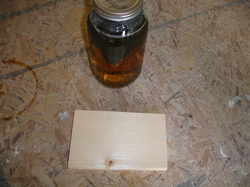
Board with just Cider vinegar and steel wool
When it finally dried it looked like this. Kind of a brown with some red tinges but I didn't think it was dark enough. One of the pages who likes us on facebook, Homegrown Goodness, told me her sister uses this concoction all the time and to make it browner she uses a regular tea bag in the jar! So I went to the cupboard and grabbed a tea bag, placed it in the jar, gave it a shake and waited a few hours to see what would happen.
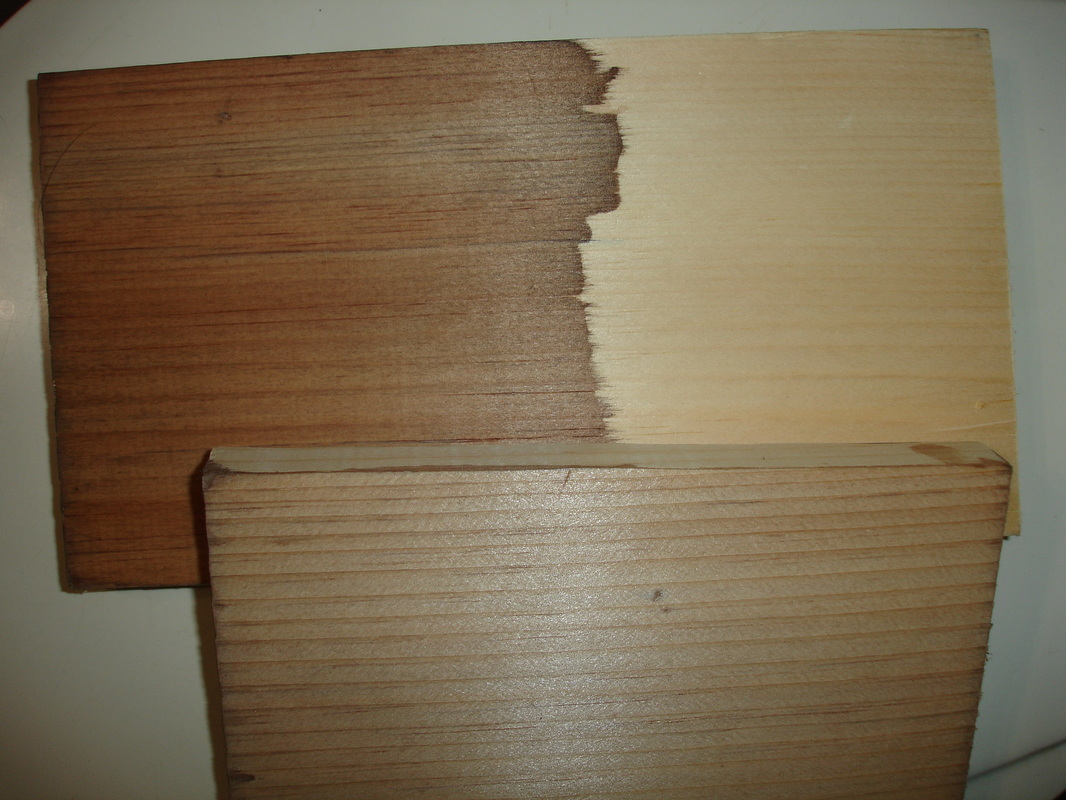
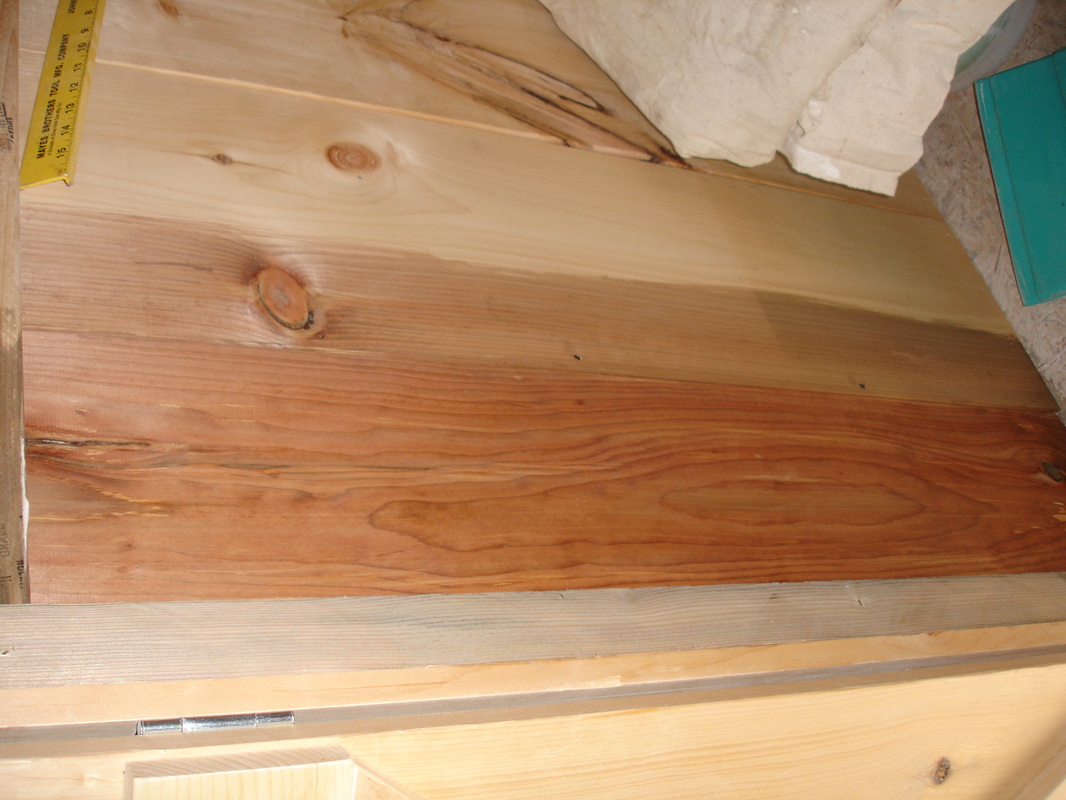
Darker board is vinegar, steel wool and tea bag. Other board is without tea bag.
So there we have the two boards sitting side by side. The darker brown is the with the tea bag the other one is just the plain vinegar and steel wool. So I let these sit over night and then decided the tea bag one was too dark, but the plain one was too light... so what do I do?
I went back to google and started researching more until I found a site that said they lightened their stain just by mixing 1 part of stain to 1 part of water. So I gave it a try and painted a test board in the closest area under the loft bed.
I went back to google and started researching more until I found a site that said they lightened their stain just by mixing 1 part of stain to 1 part of water. So I gave it a try and painted a test board in the closest area under the loft bed.
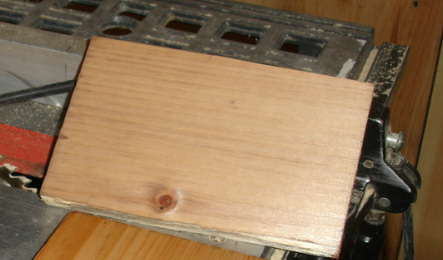
Test board of diluted stain
So there you have it, diluted at a ratio of 1 part stain to 1 part water and it came out beautifully! So now it was time to paint the walls and loft bed area. It goes on very easily with the paint brush but make sure you wear old clothes as it will splatter a bit and will discolor and stain whatever it gets on. I did all the walls and loft area in about 2 hours mixing small amounts (1/2 cup of each stain and water) at a time.
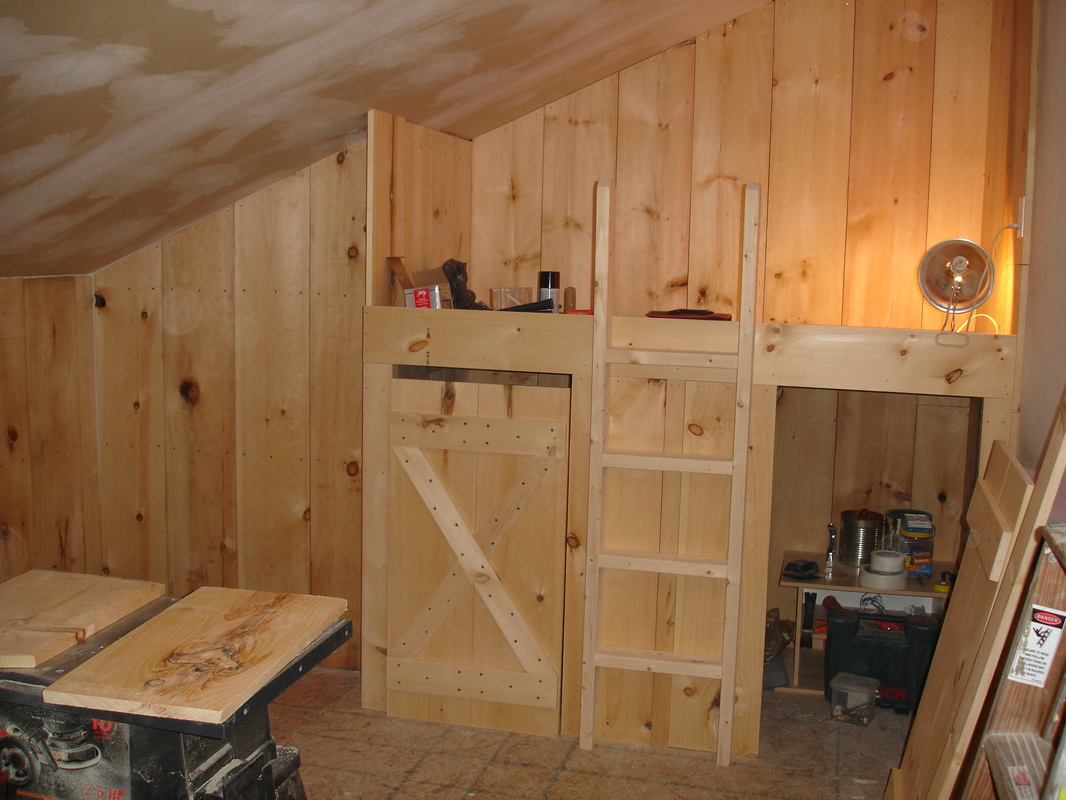
Loft bed area before stain was applied
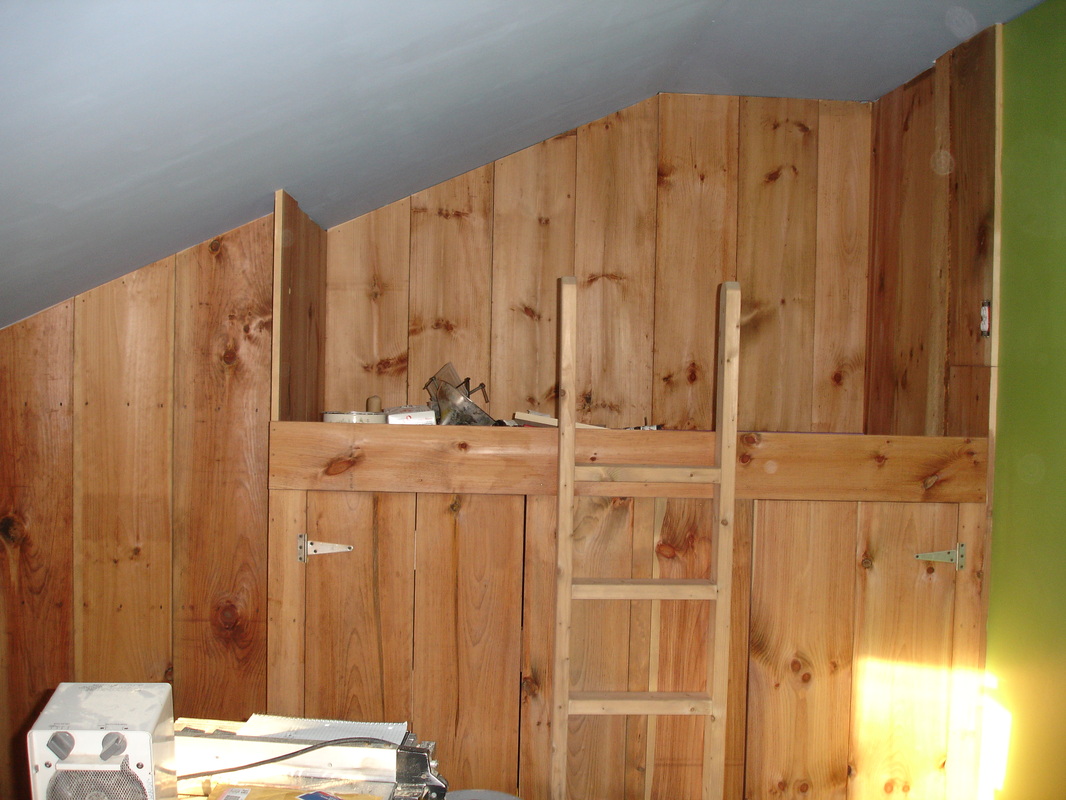
The loft bed after the stain was applied
See how red brown and rich in color the wood looks now? And you can see all the grains, some grey areas and some other areas look distressed just as if it was aged and weathered. So simple, so cheap and really very green, this stain will be something I use for many years to come!
It is hard to believe how old this wood looks now - it really does age it!
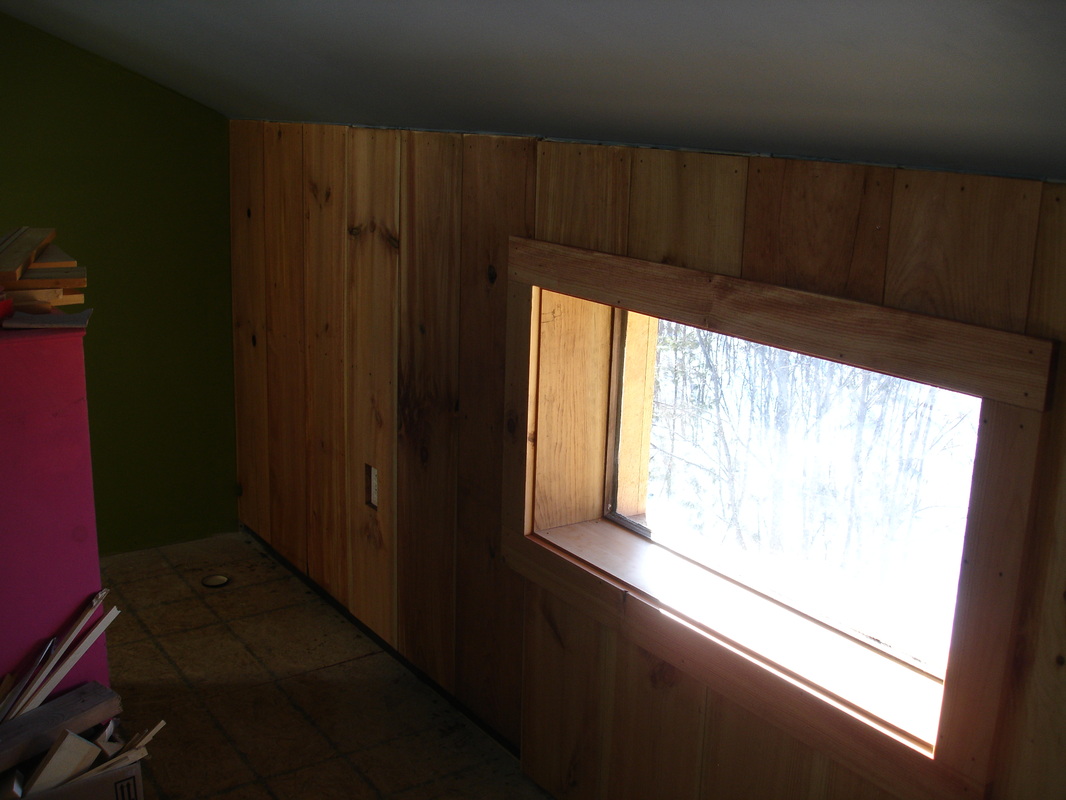
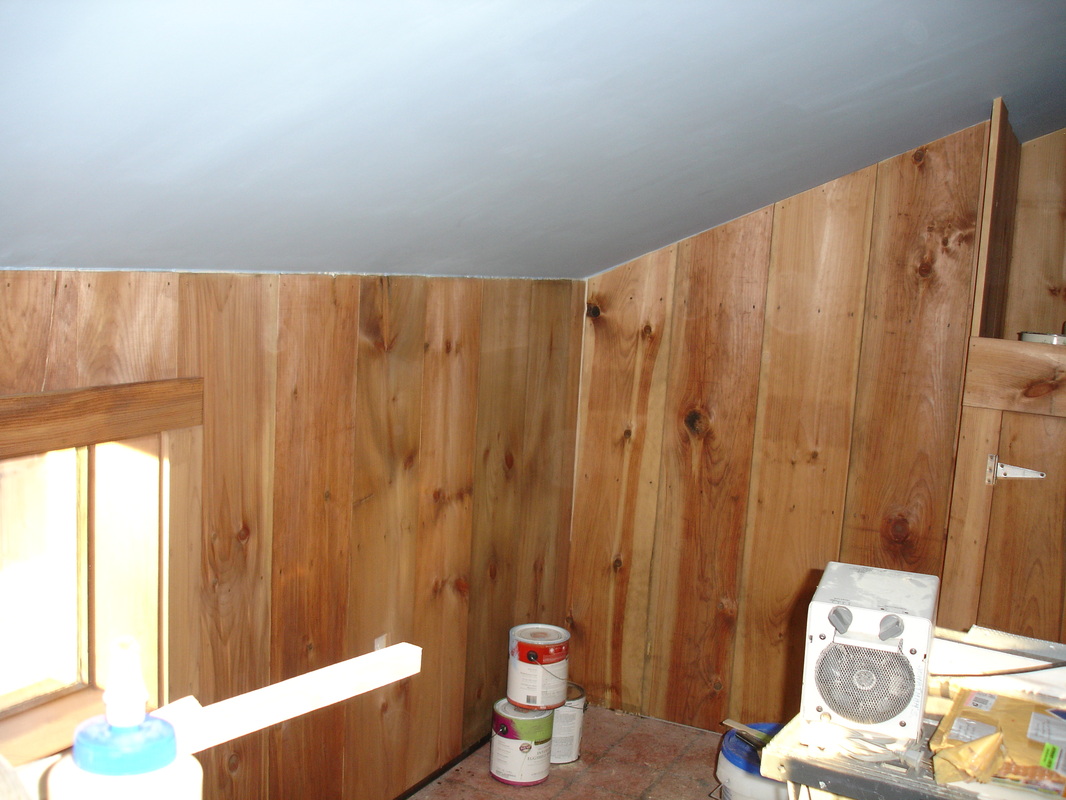
Wall facing West - wood is much darker
And just a word to the wise...
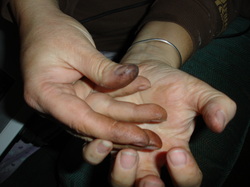
Fingers stained by the stain
I never wear gloves.. not even when I am gardening, so I chose not to wear any for using a stain made from vinegar.. LOL well this is what happens when you don't think the stain will stain your hands. And really this picture doesn't do it justice as my fingers and nails are black from the stain. So if you care about what your hands look like, make sure you wear gloves while staining as even cleaning the paint brush will discolor your fingers.
I hope you enjoyed are little blog on making and using your own stain from vinegar and steel wool. I should also mention that this stain smells very irony or metallic with a hint of vinegar. So if you have a problem with strong odors, make sure you are well ventilated. It does go away as soon as the wood dries, but the house does smell quite a bit until then.
Would love to know if anyone else tries this out. Send us a picture or write us a quick comment to let us know how it worked for you. I highly recommend it!
