Great Grandma's Fudge

Fudge cooling
I love old recipes! I have some tried and true ones that have been passed down in my family for so many years I do not really know how old they are. I can tell you one thing, this one is at least 60 years+
When I was first married I had written down a bunch of recipes from my family on my mother's side following the written word to the letter. What I failed to remember though was things like quantities grew over the years LOL so my fudge always came out hard and dry??? It was still great but not what I thought was Fantastic like I remember.
It wasn't until years later when I discussed this recipe with my Aunt that she laughed and said - 2 bags of chocolate chips in the 30s and 40s were 6 ounces each... I had been using literally 2 bags of chocolate chips we find most readily available today, 12 ounces! AH HA! There it was the simple solution as to why my fudge wasn't like "Grandma" used to make. Too many chocolate chips!
So now years later I still make this fudge, usually at Christmas time, and share it with friends and neighbors. And now this year I am sharing it with all of you too! But of course you will have to make your own :) It yields about 5 pounds so make sure you have an outlet for the extras.
Ingredients
Fudge Ingredients
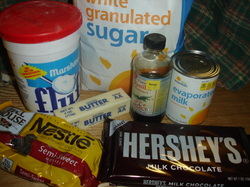
I love old recipes for another reason! Simple ingredients that are readily available everywhere. I always have all these items in my pantry (as long as Ariana hasn't found my stash and eaten the candy bars!) Nestle and Hershey have been around for so long and that is what my family has always used so I still use these today. But I know you can substitute store brand or another brand if you like. I guess some habits are harder to break then others :)
Ingredients:
Phase 1 Ingredients
1/3 Cup Butter
4 1/2 Cups Sugar
1 Can Evaporated Milk
Phase 2 Ingredients
1 Cup Marshmallow Fluff
1 - 12 oz bag of semi sweet chocolate chips
2 - 7 oz bars of Hershey milk chocolate (13 oz needed for recipe) so 1 oz is for eating ;)
2 Teaspoons Vanilla
If using nuts, Add them after fudge is almost ready to pour in pan
2 Cups roughly chopped Walnuts (optional)
Step 1 Prep work
The 2nd phase ingredients
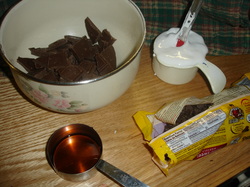
There isn't much work to this recipe but if you prepare all ingredients ahead of time, it helps to melt everything when the syrup in the pan is hottest. I open the bag of chocolate chips, measure out my fluff, break up the 13 oz of chocolate bar (remember to set one ounce to the side for nibbling later) as well as measure out the vanilla. Now all these items are prepped and ready to be added to the pan when we get to that point. No fussing later.
Step 2 What pan to use
preparing the pan
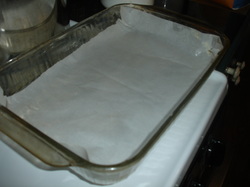
I use a 13x9 baking pan for this recipe. You will need to butter the pan really well so the fudge will come out after it is cool. I like to cut my fudge out of the pan so I have started using parchment paper along the bottom of the pan so that I can just lift it out once I cut around the edges. This allows me to place it on a cutting board and cut my squares uniformly. I usually butter the paper as well so it sticks to the pan and doesn't move when I pour the fudge into it.
Step 3 Cooking the Syrup
First phase of ingredients
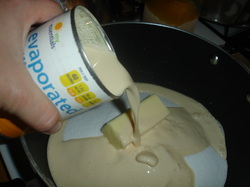
In a heavy sauce pan, combine the sugar, evaporated milk and butter stirring until well mixed. Over medium high heat, cook this mixture until everything is melted and the mixture starts to boil. And yes I am talking a rapid boil - if you are unsure what that looks like, see next picture.
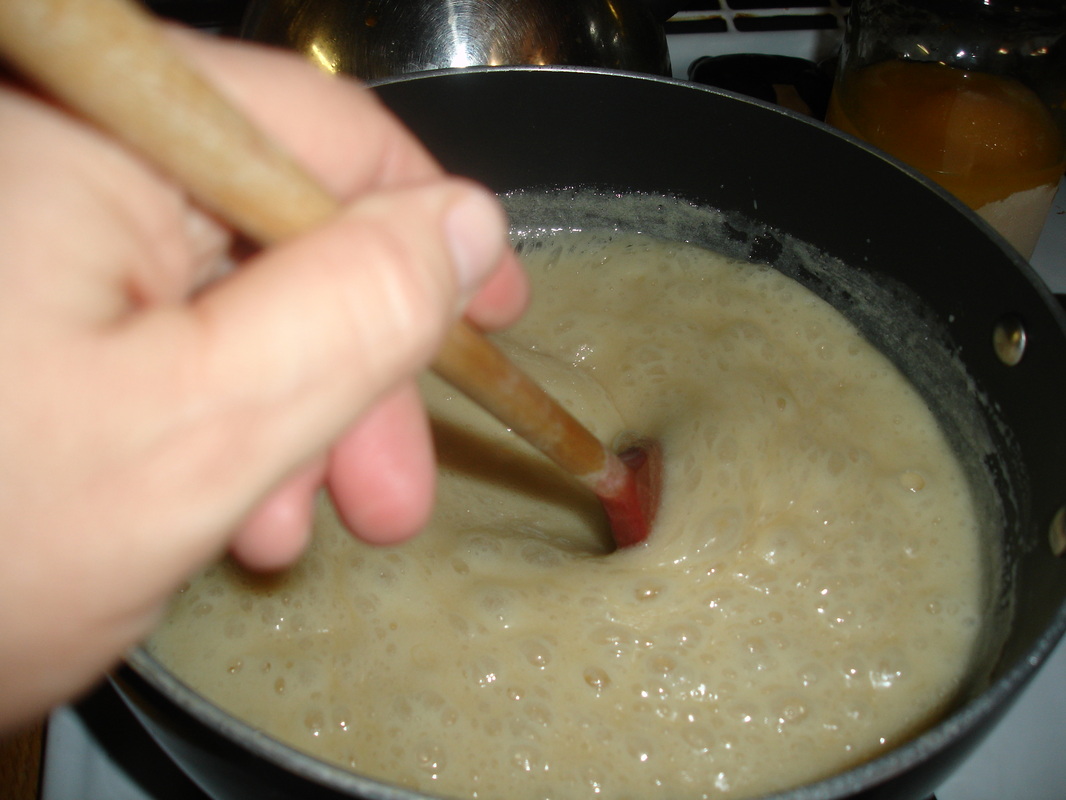
This is what a rapid boil looks like
Step 4 - Cooking continued
Boiling for 6 minutes
Once you reach the rapid boiling you will need to boil the mixture for 6 minutes - no more - no less! This is crucial as this determines how hard or soft your fudge will come out. Please be very careful during this stage as this is hot sugary syrup that if splashed up on you will burn you good! I sometimes turn down the heat if it starts to splatter which is ok as long as it doesn't stop boiling.
Step 5 - Adding Phase 2 ingredients
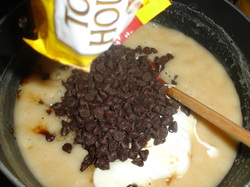
everything but the nuts gets poured in
Ok so your timer went off and now you remove your pan from the heat and add all the rest of the ingredients (chocolate chips, bars , fluff and vanilla) to the pan. The heat of the syrup will start to melt the chocolate quickly so stir fast.
Syrup is so hot everything melts really fast
Step 6 Just keep stirring...
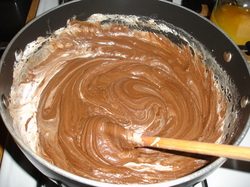
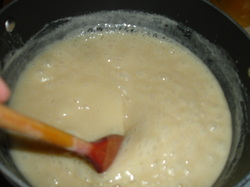
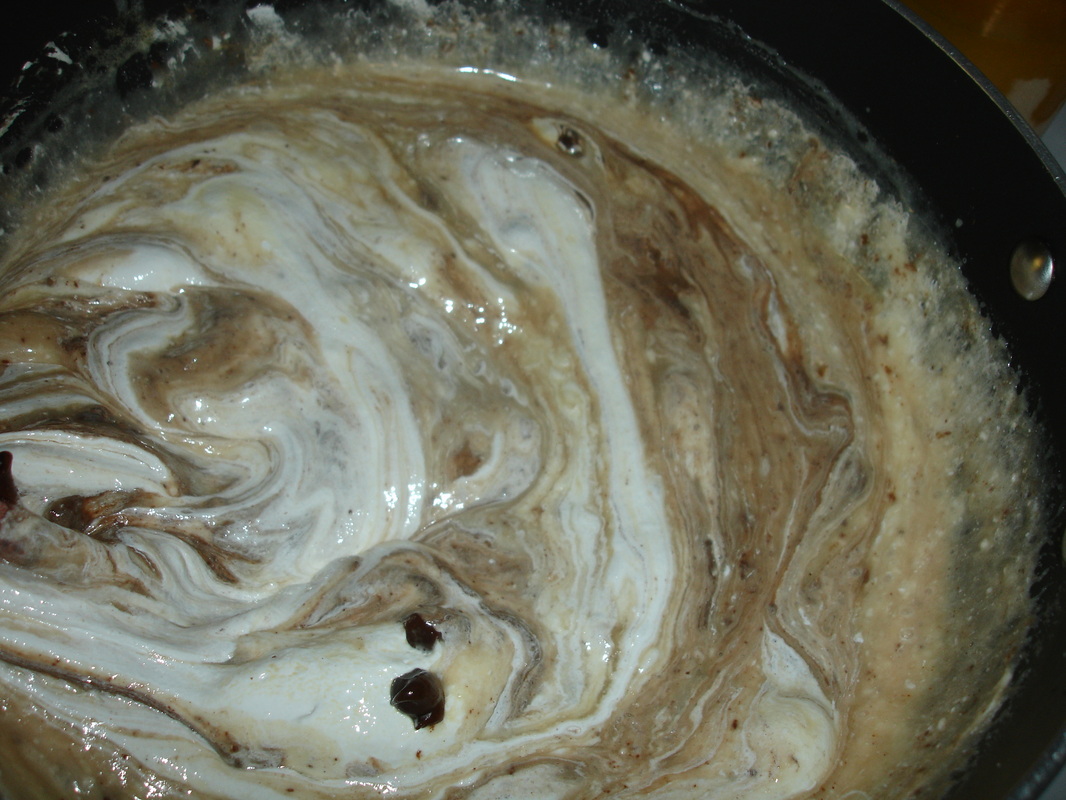
Everything blending well
At this point everything is melted and combining nicely. It starts to resemble fudge for sure. I always wait until this point of mixing to add the nuts if you are adding them to the fudge. Adding them prior to this stage makes stirring harder as you are competing with melting chocolate as well as nuts. Once you have mixed the fudge and it is all the same color brown throughout (no marshmallow swirls) then it is time to pour it into the prepared 13x9 inch pan. Gently pour the mixture into the pan and using the spoon or a rubber scraper, pat the fudge to spread it evenly throughout the pan. This will need to cool for at least 4 hours.
Step 7 - Let cool, cut and Enjoy!
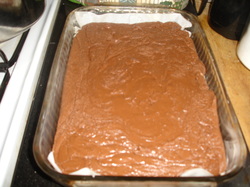
Fudge cooling in pan
That is it! Set the pan aside to allow to cool then either cut it while inside the pan or tip it over and remove it first like I do. If you opt to take it out of the pan and you didn't use parchment paper, you can just flip the fudge onto a cutting board and heat the pan using a blow dryer until the fudge drops out. This can take up to 15 minutes of blow drying your pan (yes I have done it before) which is why I chose to parchment paper the fudge now. It comes out in seconds. I hope you enjoy this recipe and please let me know if you try it. Happy Cooking!
