Fruitcake Cookies
A blend of nut, fruit and coconut
Ok I know, mention the word Fruitcake and everyone runs for the hills remembering old time cakes that would get passed from one household to the next... I think regifting was invented because of fruitcakes! But seriously these cookies are really good and so worth the little bit of work. I myself, like candied fruit - so yes you will need to like it too or these may not be the cookie for you. I always think of my German grandmother when I make these, as she always made Christmas Stollen each year which has candied fruit in it. But these have a bit of a twist with the coconut edges that toast while the cookies are baking... gives that added yum factor we like! So here we go...
Ingredients
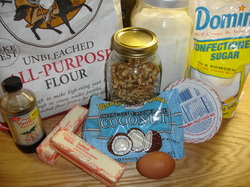
ingredients
These will take a bit of work mostly because you have to coarsely chop the nuts and candied fruit. I have an old timer hand grinder that makes the perfect chopped nuts. Unfortunately the candied fruit is too sticky to put through it so I use just a knife and cutting board. I am too lazy to pull out my food processor for this little job but you can if you have one. You will also have to refrigerate the dough for a few hours to allow the dough to firm up so slicing them into even slices is easier.
Ingredients
1 cup Butter, softened
1 cup confectioners (powder) sugar
1 egg
1 teaspoon vanilla (for an old fashion variety use rum extract instead)
1 1/2 cups coarsely chopped candied fruit (fruitcake mix)
1/2 cup chopped walnuts
2 1/2 cups flour divided (1/4 cup of this will be added to chopped fruit)
3/4 cup flaked coconut
Step 1 - Chop and measure out ingredients
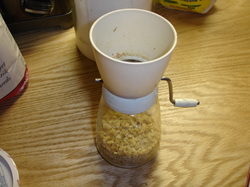
Old fashion Nut grinder
This is my old fashion nut grinder that makes the perfect chopped nuts. My girls love to use this just like I did when I helped my grandmother prepare cookies and cakes many years ago. You can sometime still find these at flea markets and yard sales. It is great because it even has a measure stamped into the side so you grind until you reach the correct measurement needed. Then it is time to chop the candied fruit. The fruitcake mix comes chopped but not as fine as you need for this recipe. I enlarged this photo to show you how small I make mine.. you can make it finer if you want or thicker. If you don't care for candied fruit you can always cut back on how much fruit you use. It shouldn't hurt the recipe only maybe give you a few cookies less.
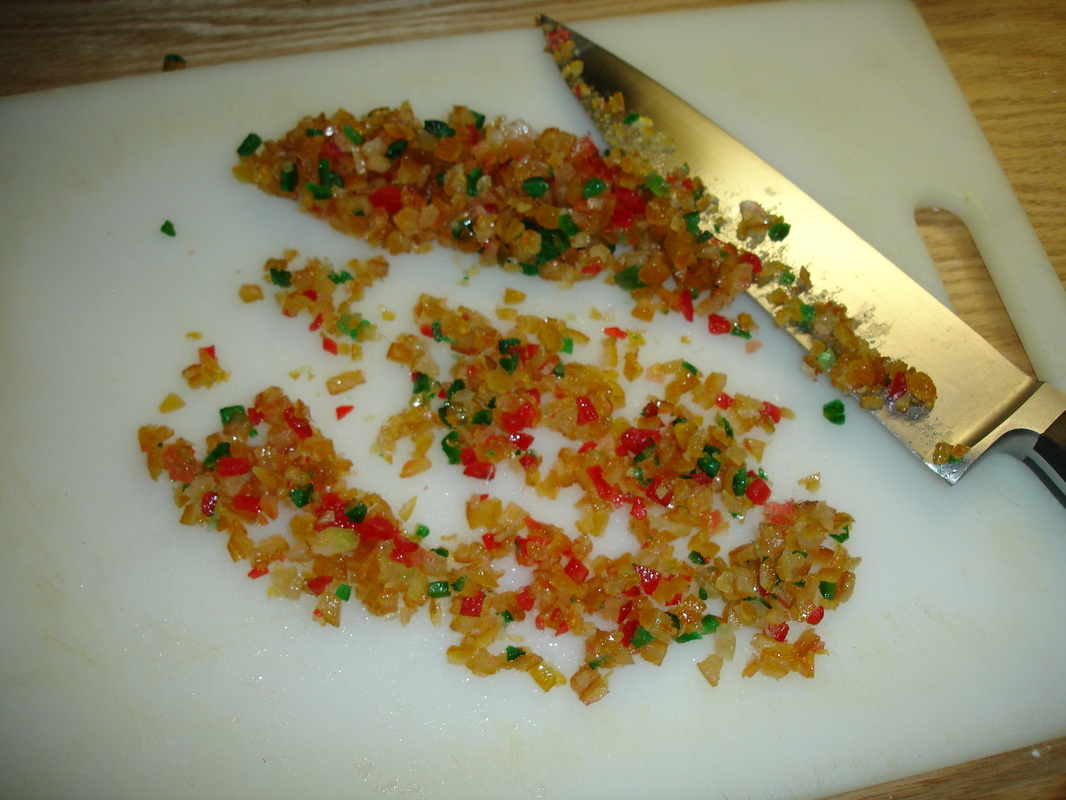
Chopping the candied fruit into a fine chop
Step 2 - Preparing the fruit and nuts
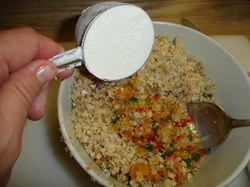
Add flour to nuts and fruit
When you are finished chopping, add the nuts and candied fruit into a medium size bowl and mix it with the 1/4 cup reserved flour. Mix well and set the bowl aside. Adding the flour to the candied fruit eliminates the stickiness and allows the fruit to separate and not clump together. This makes mixing the dough easier later.
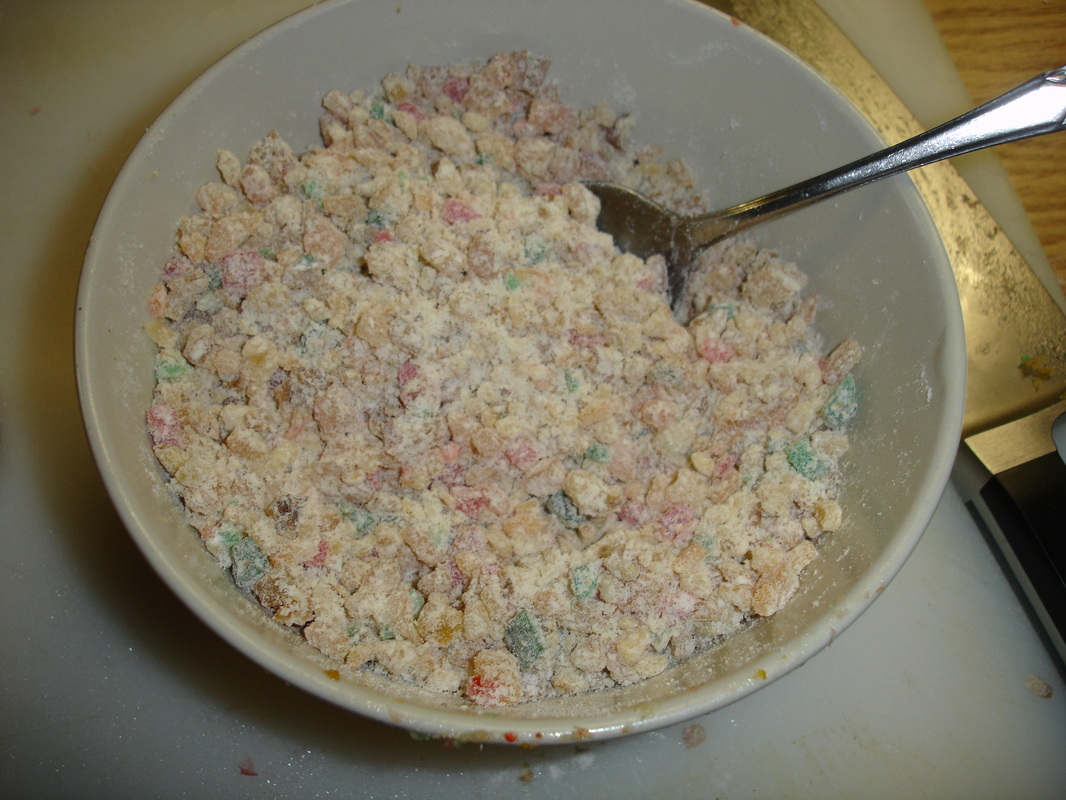
Flour helps to separate the candied fruit so it can blend into dough better
Step 3 - Making the dough
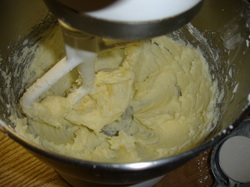
Making the dough
In a large bowl or stand mixer, beat the butter and confectioner's sugar until light and fluffy. Then add the egg and vanilla, blending well to mix. Add remaining 2 1/4 cups of flour to the butter batter; beat well until blended. At this point it is time to add the nut/fruit mixture to the batter. You can use the mixer (I always do) but the recipe says to hand stir it into the batter using a spoon. There really is no right of wrong way, just do whatever is easiest for you.
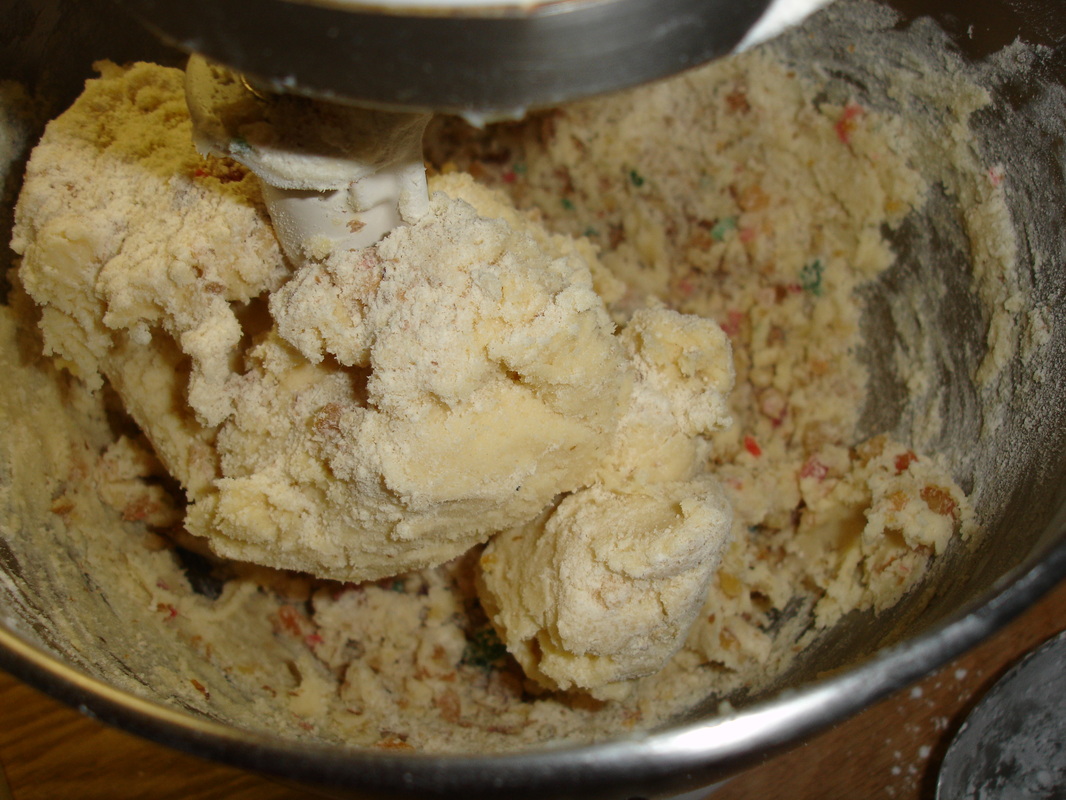
Mixing the walnuts and candied fruit into dough
Step 4 - Rolling the logs
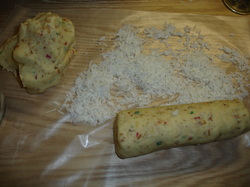
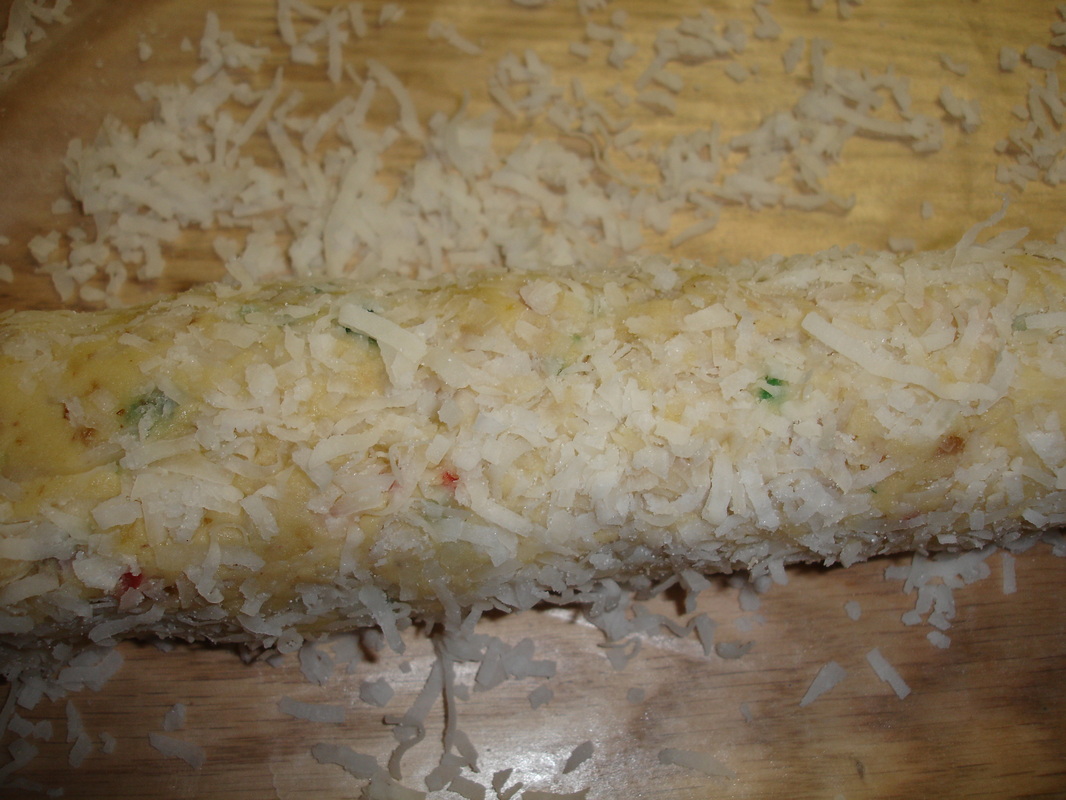
Roll logs into coconut
Scraping the sides of the bowl, make a large ball of dough and then divide in half evenly. If you have wax paper or parchment paper, I suggest doing this next step using a sheet of it. Dough will be really easy to work with and again there is no right or wrong way. I used wax paper and set a piece about 18 inches long on my counter. Take the 3/4 cup coconut and place it onto the paper spreading it out over an 8 or 10 inch area. Form one of the dough balls into a log about 2 inches in diameter and it should be 6 inches long or so. Now roll the log into the coconut gently putting pressure onto log so that the coconut sticks to the log. (see next picture)
Coconut covered logs
Step 5 - Chilling the dough / slicing to bake
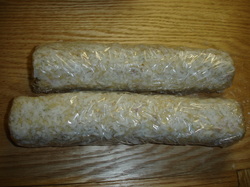
Logs ready for chilling or freezing
Once the log is covered in coconut it is time to wrap it in a sheet of plastic wrap. This keeps the dough from drying out in the refrigerator while it is chilling. You can chill for 4 hours/overnight or even freeze the dough at this point for up to 1 month*! Once the dough is chilled and firm, remove it from the plastic wrap and slice it into 1/4 inch slices. Try not to put too much pressure on dough whilst cutting it or you will end up with lopsided cookies.
*If you are using frozen dough, let the dough thaw at room temperature for 10 minutes before slicing.
*If you are using frozen dough, let the dough thaw at room temperature for 10 minutes before slicing.
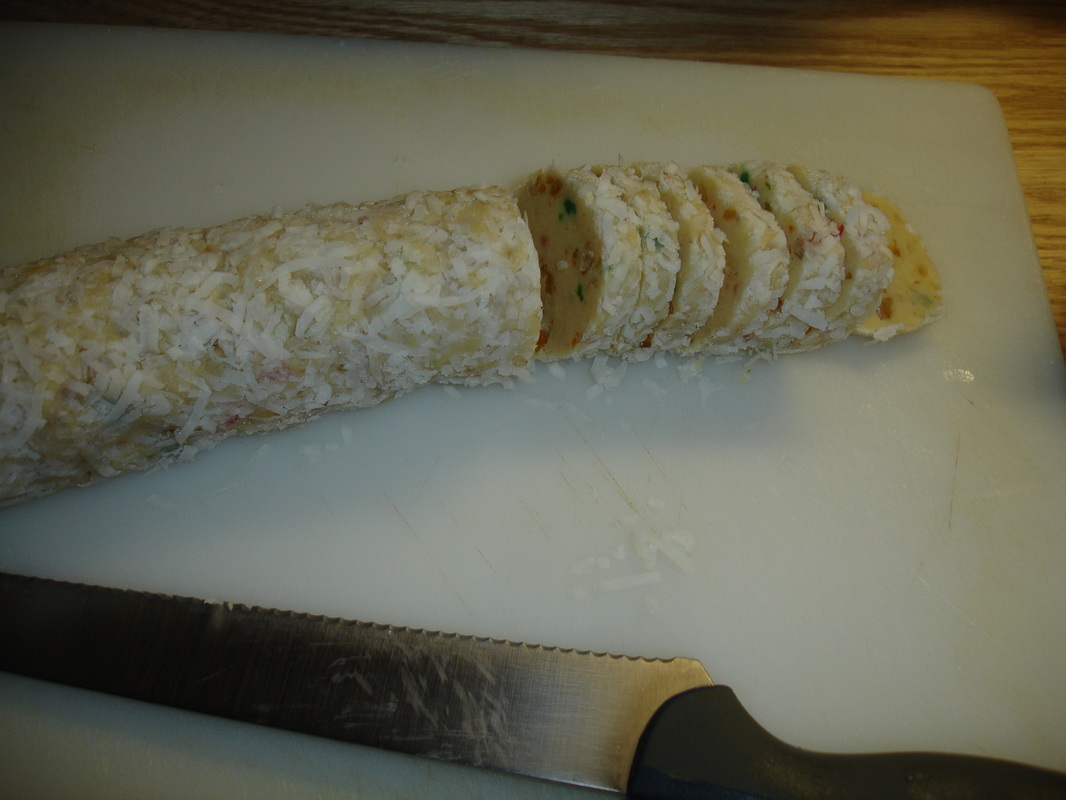
Slice the log into 1/4 inch slices and place 1 inch apart on greased cookie sheet
Step 6 - Baking
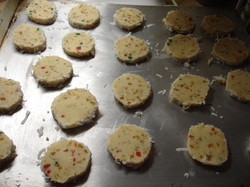
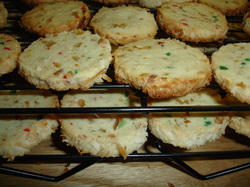
cookies ready to bake
While cutting the logs into slices, you can preheat the oven to 350 degrees and grease all cookie sheets you will be using. Place cookies about an inch apart on each sheet. Bake for 13-15 minutes or until edges are golden brown. Remove the cookies from pans and cool on wire wracks. Store in airtight containers... Enjoy!
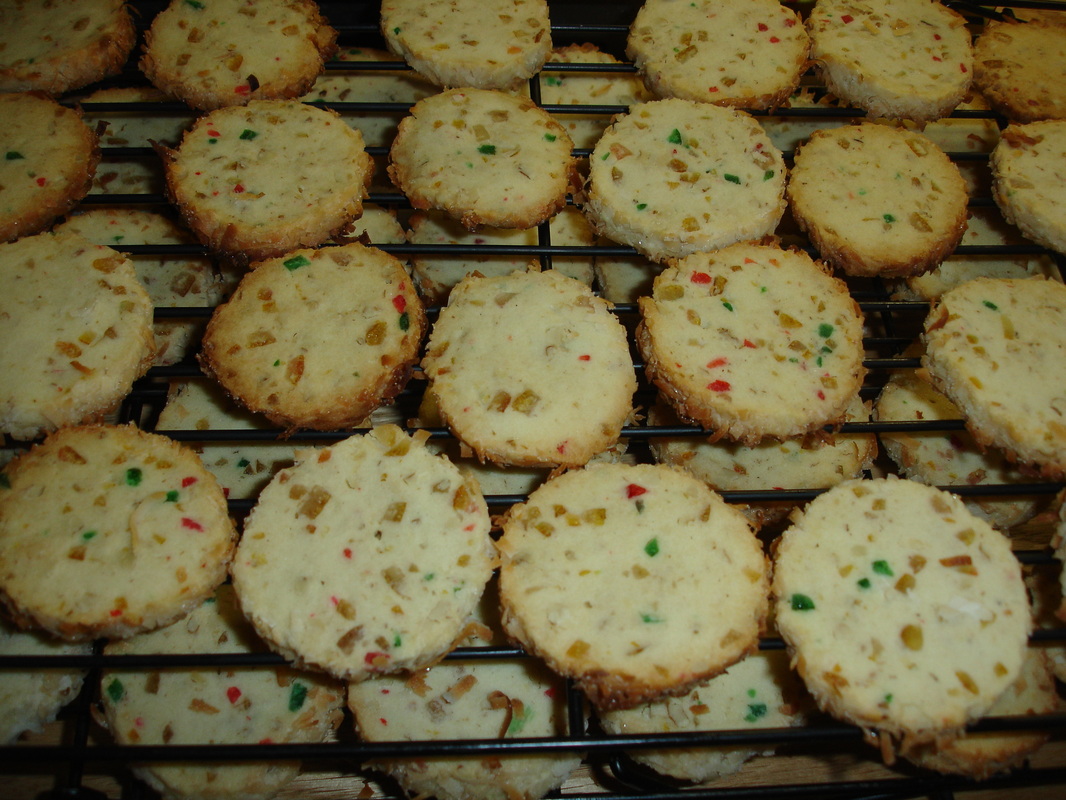
Finished Fruitcake cookies! Better then fruitcake any day!
