How to make Goat Cheese aka Chevre
What to do with the surplus of milk????
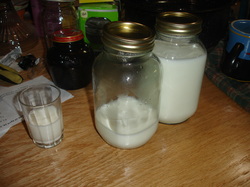
Our fresh goats milk
I only have the one goat that we are milking but still we are getting over 1/2 gallon of milk each day. Now we drink some milk but not a lot. I know we should probably drink more, but being lactose intolerant I learned to live without it. Now that I have a goat and can drink more of it, I find it hard to. So what else can I use the milk for before it turns sour? Well why not make cheese! So I began my research on how to do it. It wasn't hard to find a zillion recipes online all telling me how to do it with basically the same recipe. Some use vinegar, some use lemon juice, others use rennet which is basically and enzyme found in the liner of the stomach that is used to set the cheese. Ok so maybe the use of rennet doesn't sound all that appetizing to me so maybe I will stick to the soft cheeses for now. So I will start with just plain old goat cheese also known as Chevre.
Supplies you will need -
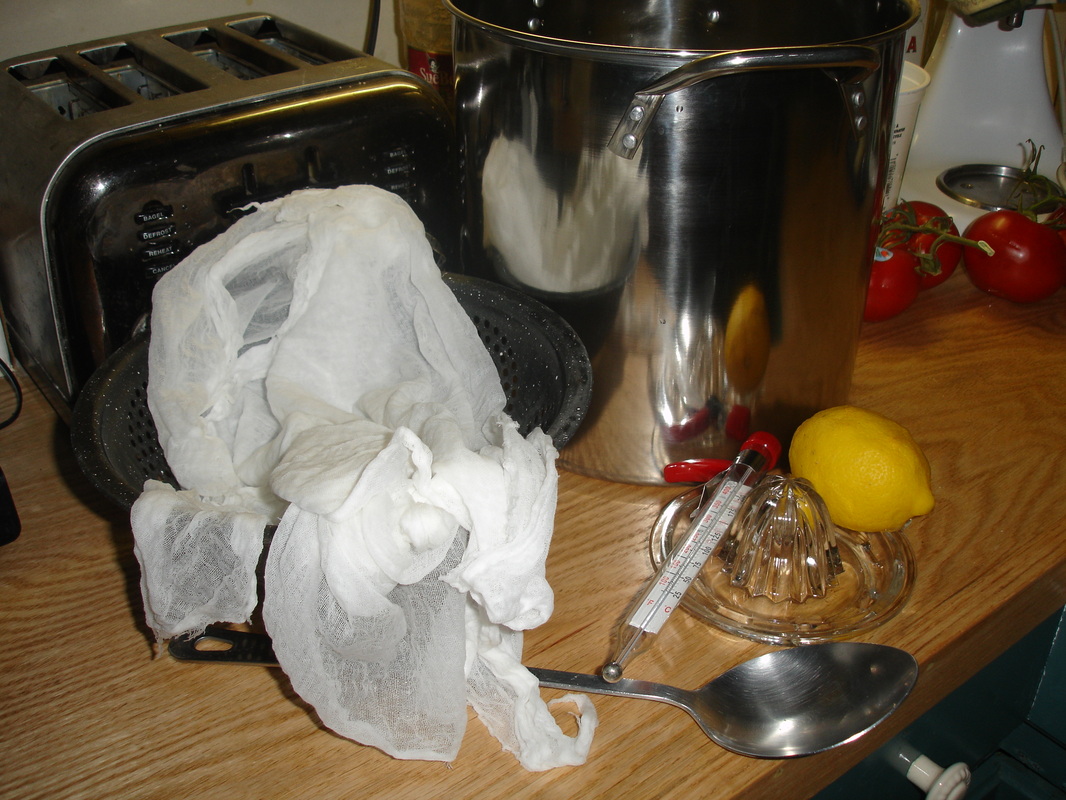
All the supplies needed except the milk
Believe it or not cheese making is one of those things you think is going to be really difficult and time consuming until the mystery is taken out of it and you realize just how easy it is!
The basic supplies are as simple as Goats milk, a pot to heat milk in (preferably stainless so as not to taint the milk with residue), a stainless spoon to stir with, lemon juice (I prefer to squeeze my own using organic lemons), a colander (also metal if possible), cheese cloth, a large bowl and a candy thermometer. That's it!
The basic supplies are as simple as Goats milk, a pot to heat milk in (preferably stainless so as not to taint the milk with residue), a stainless spoon to stir with, lemon juice (I prefer to squeeze my own using organic lemons), a colander (also metal if possible), cheese cloth, a large bowl and a candy thermometer. That's it!
How to make it
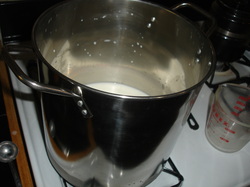
Heating the milk
Now I hate to keep saying this but man do I have a lot of milk! So I wanted to make a good size recipe so I had a good amount of cheese in the end. So I started with 2 quarts (1/2 gallon) of milk. Please note that you do not need to have fresh goats milk to make this, you can actually buy goats milk from some stores and use that instead. With the milk you will need to heat it to 180 degrees F which I do over medium flame. I usually just pour the milk in, turn the heat on and then give it a quick stir. Every few minutes I will stir again and check the temp using the candy thermometer. I don't stand there as the old adage of a watch pot never boils holds true with milk too! But you also don't want to over heat it either - so when you start to see the milk steaming it is time to pay closer attention to the temp as you will be getting close.
Time to juice...
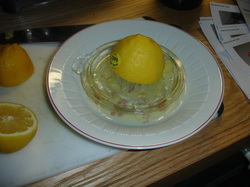
Juicing the fresh organic lemons
While the milk is heating I take this time to juice the lemons I use to curdle the milk. I find that the juice from 2 lemons is sufficient enough for 1/2 gallon of milk. Some recipes are more exact but that is how easy it is to make this.. there really is no exact way as long as you have the acid to turn the milk. If you can't handle the ball park - you are looking for about 1/2 cup of juice.
Preparing the cheesecloth
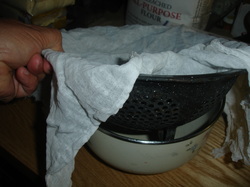
When you are all set with lemon juice, it is time to prepare the colander and cheese cloth by laying the cloth over the colander and place this set up over a large bowl to collect the whey when it separates from the curds. The curds will be very small and it will almost look like it will go through the cloth. I use butter cloth which has a tighter weave then the generic cloth you can buy at the stores. If you only have that cloth I would recommend using many layers so you do not lose your curds into the whey.
Milk has heated
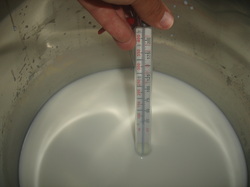
Checking the temp of the milk
By this time you will most assuredly be close to the 180 degree mark. When you are, simply remove the pan from the stove and stir in the lemon juice. Just mix enough to combine the liquids and then let it sit. Once the milk has sat for a few minutes pour the mixture into the cheesecloth. It will look like you are going to lose everything as the curds are so small but have faith, the cheesecloth will catch it all. When you have finished emptying the milk it is time to pull up the four corners of the cloth so that the whey can finish dripping out of the curds. I do this by securing the cloth over my sink faucet and place the whey catch bowl underneath.
Catching the whey

Curds and Whey separating
You will need to allow the cheese to hang and separate for about 1 1/2 hours. At this time the cheese has fully separated and you are ready to enjoy the cheese as is or make it into one of the many dips, spreads or cooked recipes. I love the herb spread which I also have listed under recipes. It is fantastic on crackers and even Bagels.
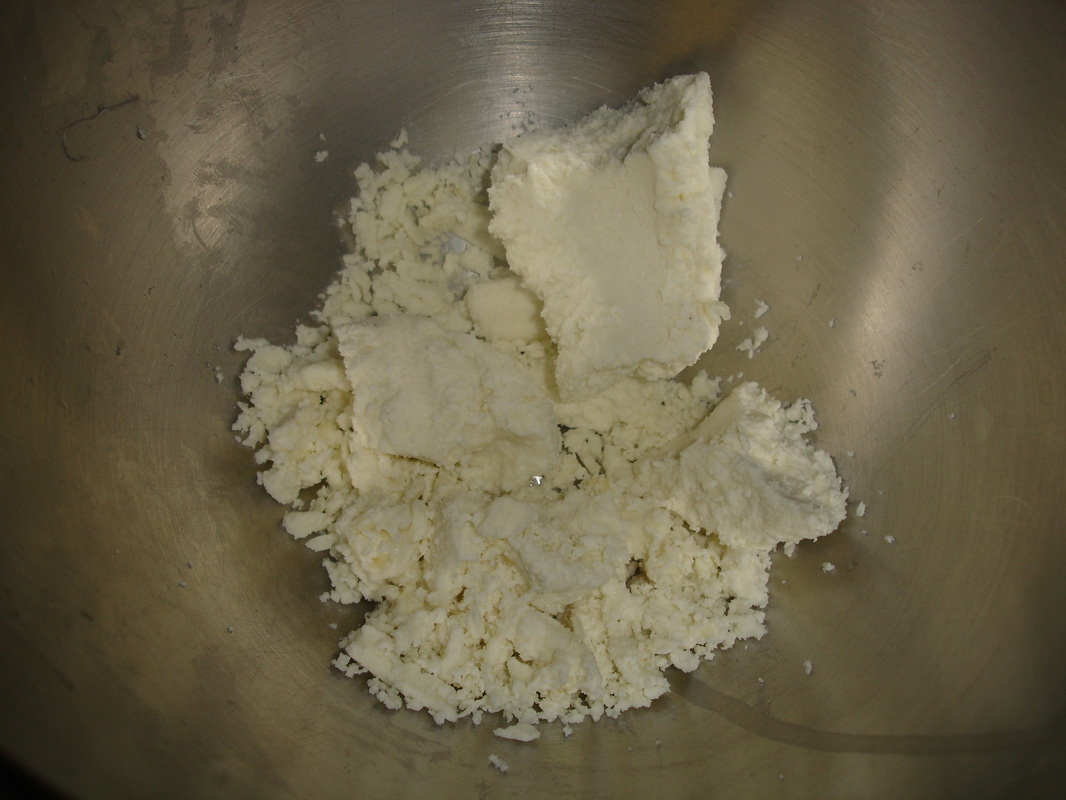
Fresh Goat Cheese! Great as is on salads or make into your favorite recipe!
So you see just how easy it is to make this simple but delicious cheese that cost a fortune at the stores. I am fortunate enough to have all that milk so that my cost is really just the lemons! How sweet is that?
